If you would like to skip the details and see the quick guide, either scroll to the bottom of the page or click the button below.
Make your own probiotic foods.
Gut health has recently been a trend and thankfully, people are becoming more aware of the effects of foods on their health. It is now being recognized that a healthy digestive system brings many advantages to your overall health and well being. Homemade Sauerkraut can help with this.
You can easily make your own
PROBIOTIC POWERHOUSE

If you’ve ever wondered how to make sauerkraut at home, you’ve landed in the right place.
It’s so easy to make sauerkraut at home.
The act of making homemade sauerkraut is easy and rewarding.
It’s one of those fun home recipes that even the kids can hop on board with.
The first time I heard that it was possible to make your own sauerkraut at home without any fancy machines or kitchen equipment, I have to admit, I was skeptical.
However, I gave it a shot and discovered that it really was not difficult at all, but in fact quite enjoyable and furthermore, delicious! A very common misconception is that you will need to purchase special containers, yeast, and other expensive tools in order to make it. But, this is not the case. Though, there are a few tools out there that make the process cleaner and easier. You can also go super basic and all you really need is a mason jar, cabbage, and some salt.
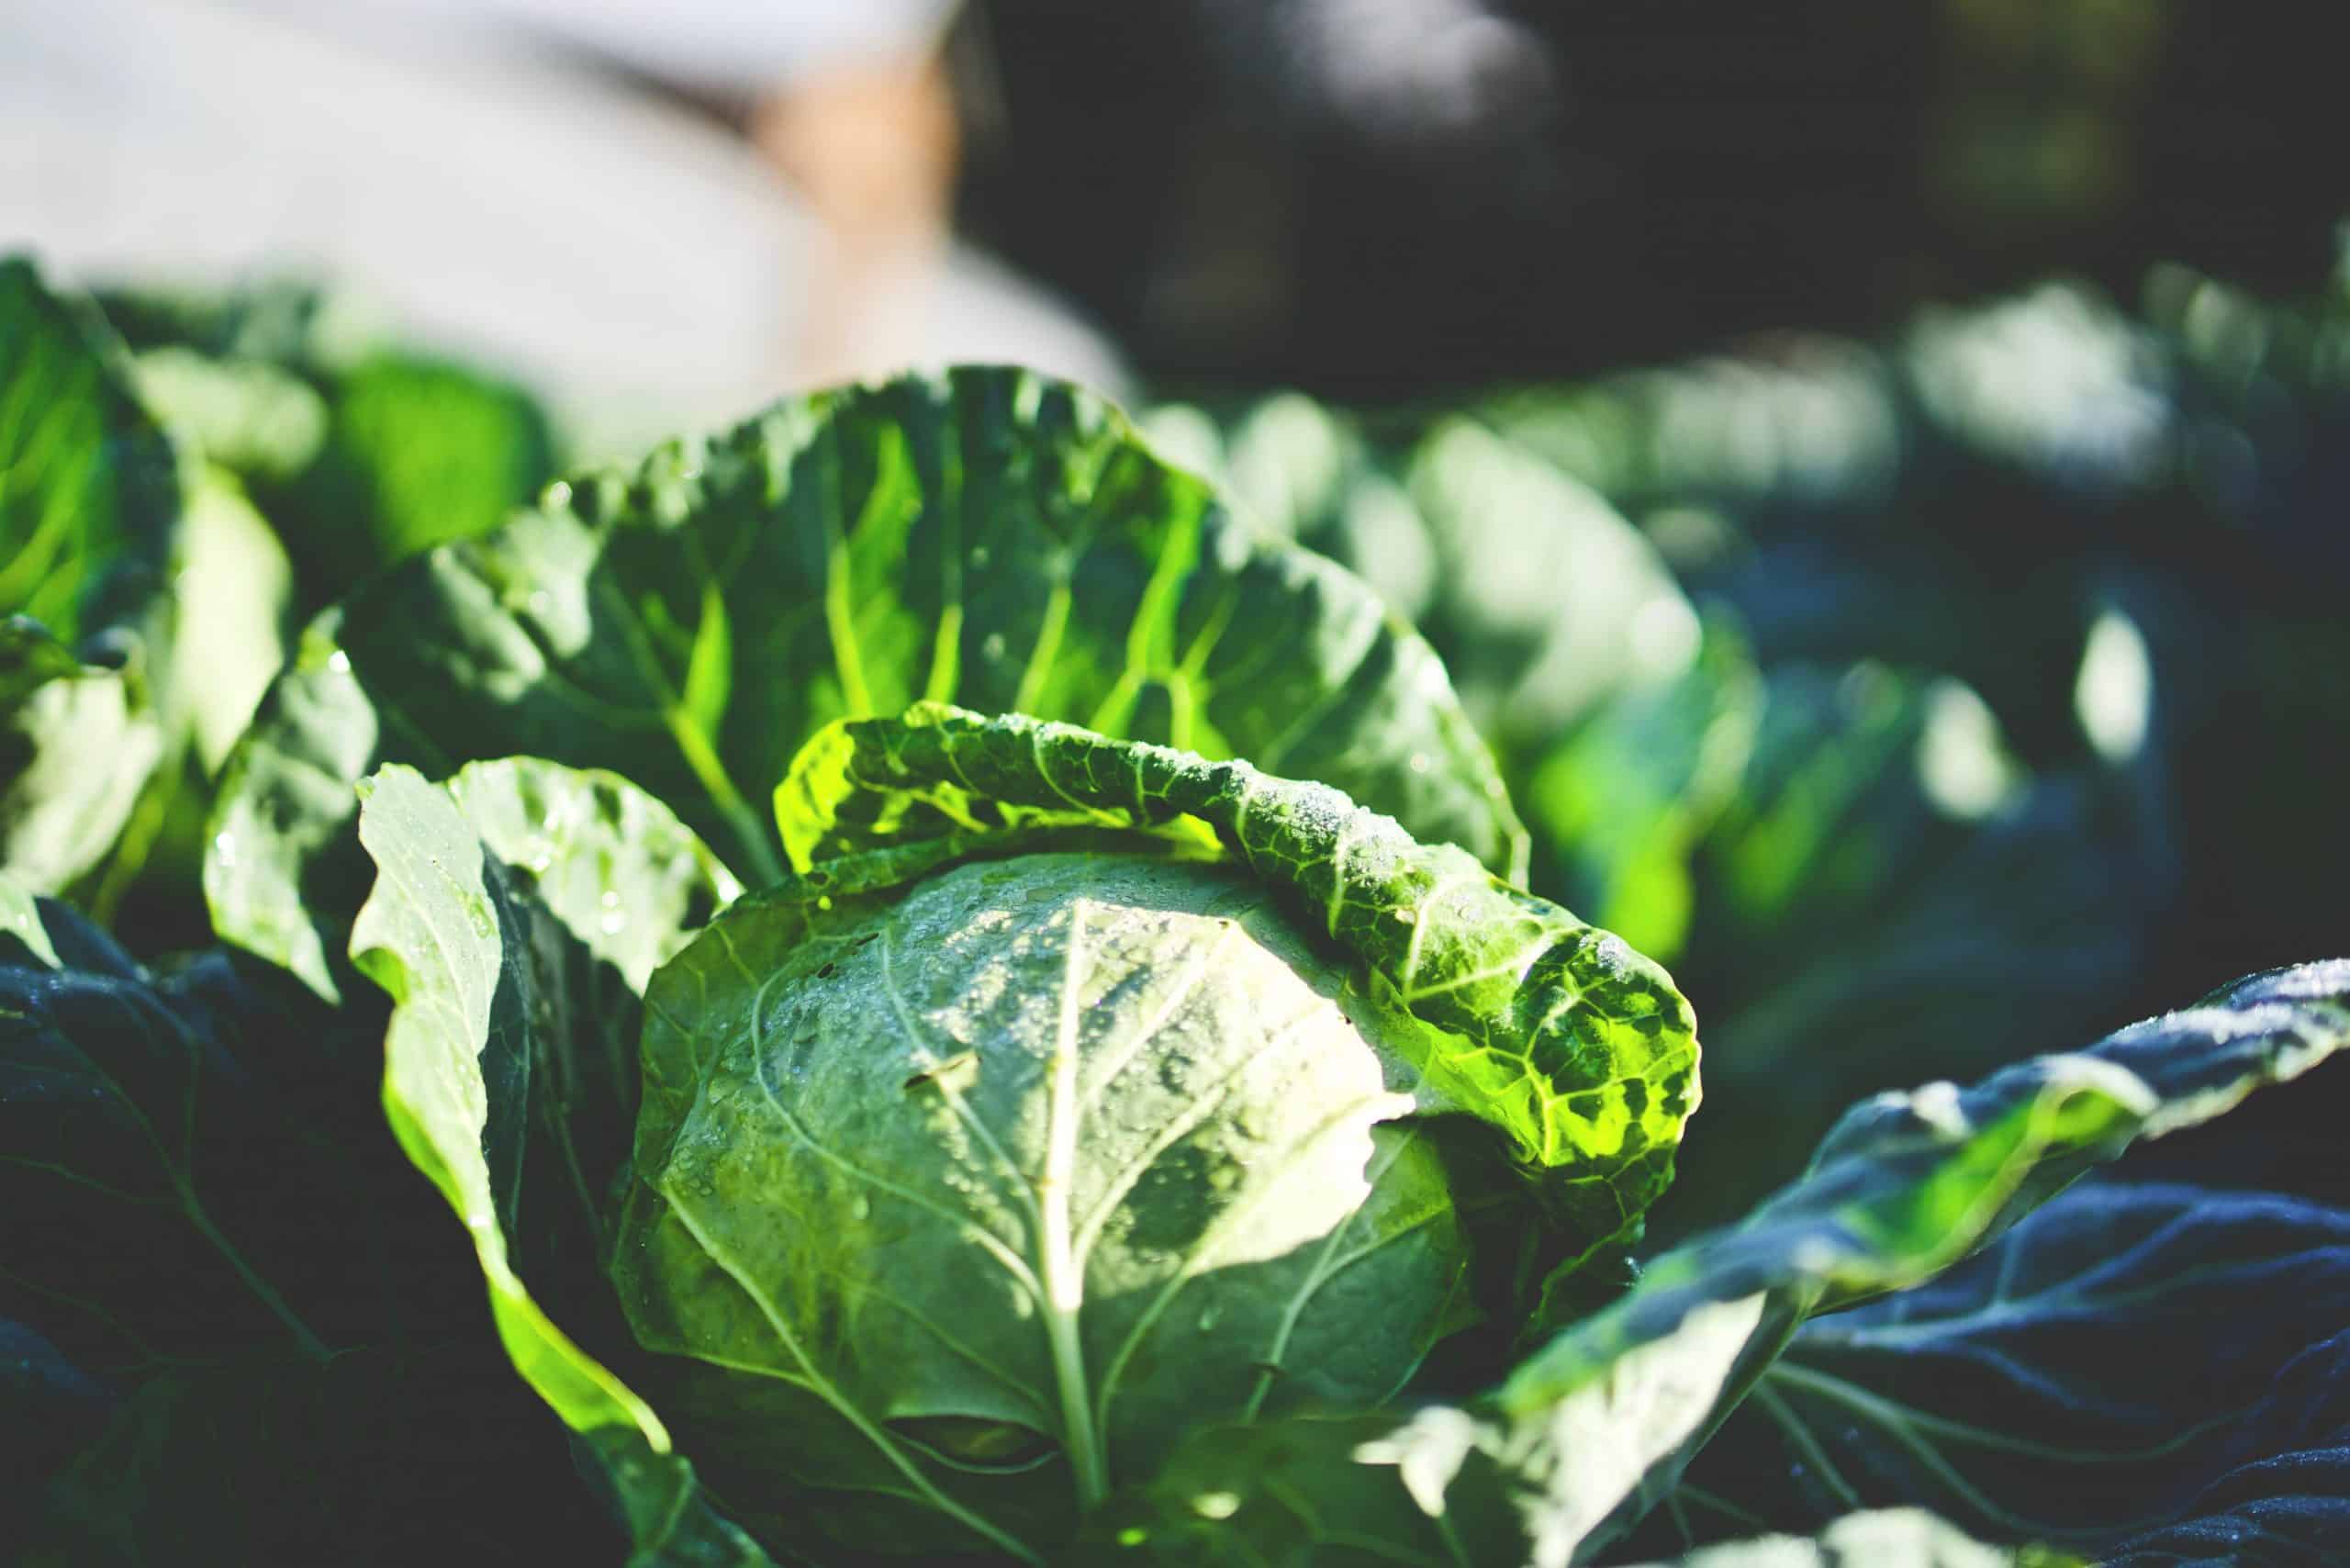
First, you will want to pick out fresh, preferably organic cabbage. The fresher the cabbage is, the more liquid will come from it.
Preparation Time: 10 minutes
Total Time: 20 minutes
Servings: Serves 4
Ingredients:
Cabbage (purple or green, or both)
Non iodized Salt
1 liter Wide Mouth Glass jar and lid
Large Knife or Mandolin slicer
Large Mixing bowl or container
Optional:
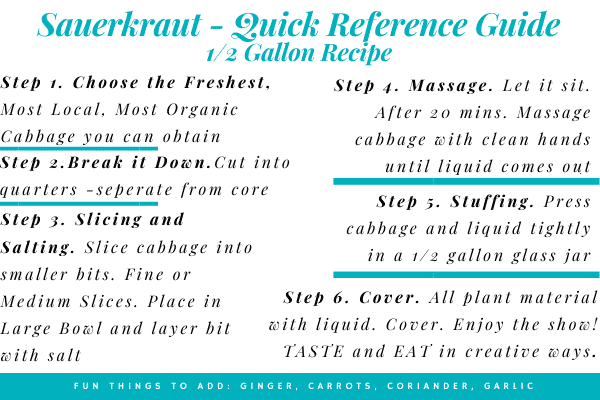
How to Make Homemade Sauerkraut:
Prepare The Cabbage
- Remove any outer leaves that don’t look good. Save one of the nicer looking outer leaves and put it to the side.
- Finely slice cabbage. Use the knife or mandolin slicer to break down the cabbage. Slice it as fine or large as you like. The finer it is, the faster it will ferment because you are exposing more surface area. Also, it makes it easier to massage. We prefer this Mandolin Slicer, because it is made well and takes a lot less elbow grease.
- Add a layer of cabbage to a large mixing bowl, along with some salt to taste. Add another layer of cabbage and salt. Repeat this until you are out of cabbage.
- Let it sit for 5-15 minutes and let the salt draw the water out of the cabbage.
Massage It
- Using your hands, massage the cabbage by grabbing handfuls of the cabbage and squeezing it like you would squeeze out a large sponge. Grab another handful and do the same. Repeat this until the cabbage starts to get soft.
- As the cabbage softens you’ll notice more and more juice in the bottom of the bowl. This is your beautiful brine. You’ll also notice that the volume of cabbage gets smaller as you massage it.
- Keep massaging until the cabbage is quite soft and limp, almost the consistency it is after being stir-fried or steamed. You want to keep massaging until the volume of the cabbage is reduced by about half. If you used coarse sea salt, it should all be dissolved. If you taste a bit at this point, you’ll notice that the cabbage has lost that sharp, pungent taste that raw cabbage has.
Pack Your Jar
- Now it’s time to pack the jar that you’ll ferment your sauerkraut in. Grab a handful of cabbage into the jar. You can use a tamper, utensil or press it down with your hand. This is why it’s helpful to use a wide mouth jar. Keep adding handfuls of cabbage and pressing the air out by pressing the plant material down.
- Pour any remaining brine into your jar. Leave a couple of inches from the top for expansion. If you need to, you can add more brine.
How to Keep it All Under the Brine
After you’ve packed all the sauerkraut in the jar you have to somehow keep all of your veggies under the brine. If the plants are subjected to oxygen, they will mold. There are many different ways to accomplish this.
Natures Way: Fold the large cabbage leaf you set aside earlier. Fold it so it fits the edges of your jar. Gently press it down under the brine, as much as possible.
The Cheap & Easy Plastic Way: Use a plastic sandwich bag, put some water in it and press it into your jar. Press all of the air out by pressing the bag to the sides. Add more water into the bag if necessary.
Cool Inventions Way: Glass fermentation weights are a creative and affordable way to keep your veggies out of the oxygen
Lid Options
You can use the matching jar lid. If you do this method there are two options.
1. Keep the lid on loosely so there is a way for the gases to escape.
2. You can put it on tightly and once or twice a day unscrew the lid to “burp” it.
Cheesecloth or other material. Use a rubber band to secure your material around the base of the jar.
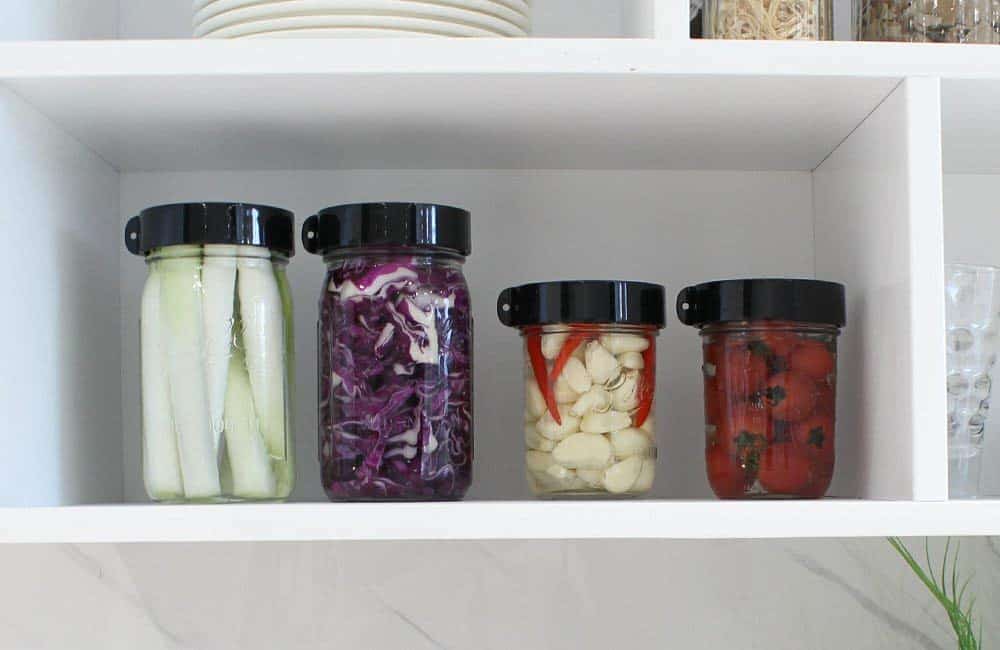
Airlock or Vacuum Lids. These specialty lids make it easy to use and work efficiently. They keep out the oxygen and allow the CO2 to escape.
Patiently Waiting for Homemade Sauerkraut
- Put the lid of choice on the jar, and leave it out at room temperature.
- Keep out of direct sunlight.
- Look at it! You will start to see bubbles coming up the jar. The amount of bubbles will vary with each batch.
- After 3 or 4 days, take a taste of your new homemade sauerkraut. When it is to your liking, it is done!
- If it is not too your liking, let your ferment go longer.
- When it is finally to your liking, store it in the refrigerator. I usually find that it all gets eaten before it ever goes bad.
Interesting Facts on Fermenting
- Taste buds for your fermentation will change and grow as you ferment more.
- Your fermentation time will vary. It is dependent on the temperature in the room, the size of your homemade sauerkraut, and preference of taste.
- This type of fermentation is called lactic acid fermentation or lactofermentation
- When the lactic acid increases, other microorganisms are killed.
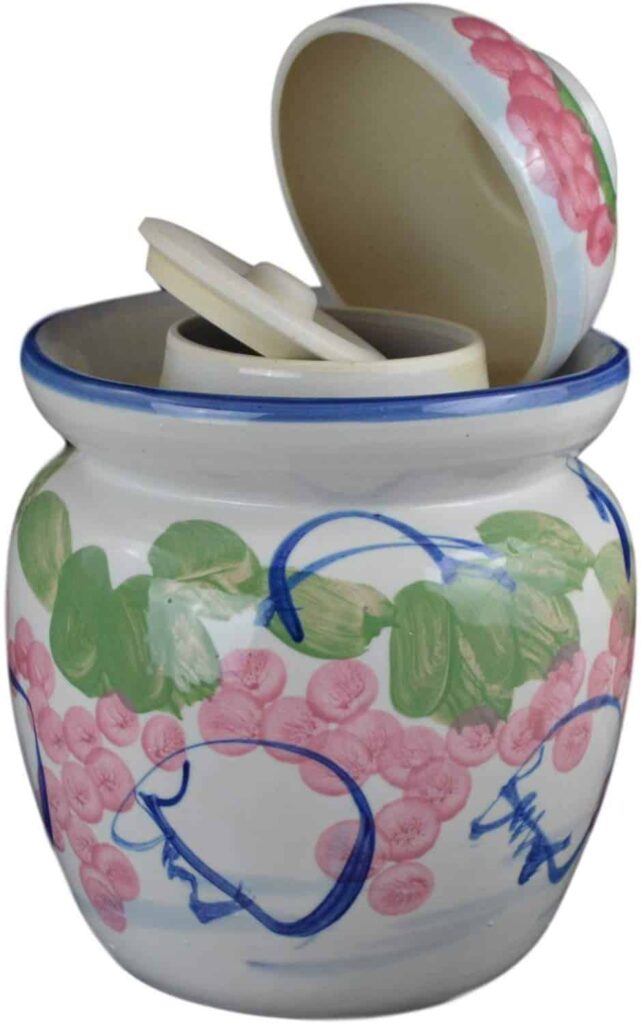
Fermenting Pottery
Sauerkraut is full of great nutrients too.
Batches of Kraut can very in nutrients, so it’s difficult to be exact. It’s easy to say that it is packed with vitamins, minerals, nutrients, and probiotics.
Enjoy your fermenting journey!
Follow us on Pinterest

