
What this covers

- Why an Iron Tonic Recipe Works Differently Than Pills
- The Five Herbs We Always Use in Our Iron Tonic Recipe
- How to Make an Iron Tonic Recipe Step by Step
- What We Learned After Our First Failed Batch
- The Best Ways to Take Iron Tonic Daily
- When to Make a Fresh Batch
- What an Iron Tonic Recipe Can and Cannot Do
The first time we made an iron tonic recipe, we burned the decoction to the bottom of the pan. The smell was somewhere between burnt sugar and scorched tea, and the entire batch went down the drain. We had followed the instructions, or so we thought, but we underestimated how fast a reduced liquid evaporates once it gets low. That mistake taught us more than any iron tonic recipe could: making a concentrated herbal syrup demands attention, not ingredients.
Iron deficiency is one of the most common nutrient gaps in the United States, with the body requiring about 1.8 milligrams of iron daily and storing enough reserves to last six to twelve months when levels are adequate. Iron sits in every cell, drives oxygen transport, and anchors hemoglobin production. When stores run low, fatigue, brittle nails, headaches, and shortness of breath follow. Synthetic iron pills often help, but they come with a reputation for constipation, nausea, and stomach pain.
We think an iron tonic recipe is worth the effort when you want a plant-based option that delivers iron alongside the nutrients that help the body use it. This is not a replacement for medical advice or a diagnosed deficiency that needs pharmaceutical intervention. It is a kitchen-made supplement for people who prefer whole-plant sources and who are willing to simmer, strain, and store a syrup that tastes like earth and molasses.
Why an Iron Tonic Recipe Works Differently Than Pills
Synthetic iron supplements deliver a concentrated dose of a single iron salt, most commonly ferrous sulfate. According to herbalist Jenna Volpe, RDN, writing for the Adirondack Almanack, the body absorbs only ten to twenty percent of that dose, and the rest passes through the digestive tract, often causing constipation or nausea along the way. Double the dose to compensate for low absorption, and the side effects double too.
Plant-based iron arrives in a different form. Herbs like nettle, yellow dock root, and dandelion root contain non-heme iron bound to other plant compounds. While non-heme iron is generally less bioavailable than the heme iron in meat, the herbal matrix includes vitamin C, B vitamins, and trace minerals that support absorption. Yellow dock root, for instance, contains both iron and vitamin C in its fresh state. Nettle leaf provides B vitamins alongside its mineral content. Rose hips deliver concentrated ascorbic acid. Blackstrap molasses contributes magnesium and B6, both of which play roles in red blood cell formation.
Volpe notes that vitamin C significantly improves iron uptake from plant sources when consumed in the same meal, which is why many iron tonic recipes include rose hips or other vitamin C-rich ingredients. Coffee and tea, on the other hand, inhibit absorption when consumed with a meal or within an hour after, so timing matters as much as ingredients.
One Reddit user reported that three months of iron bisglycinate supplements, paired with high-dose vitamin C, resolved fatigue, irritability, weakness, and brittle nails. Another said Floradix liquid iron worked well after two weeks with no constipation. These are individual stories, not clinical evidence, but they point to a common theme: the form of iron and the cofactors around it shape how the body responds.
The Five Herbs We Always Use in Our Iron Tonic Recipe
Five herbs form the backbone of our iron tonic recipe, and each one plays a role beyond adding milligrams to a label.
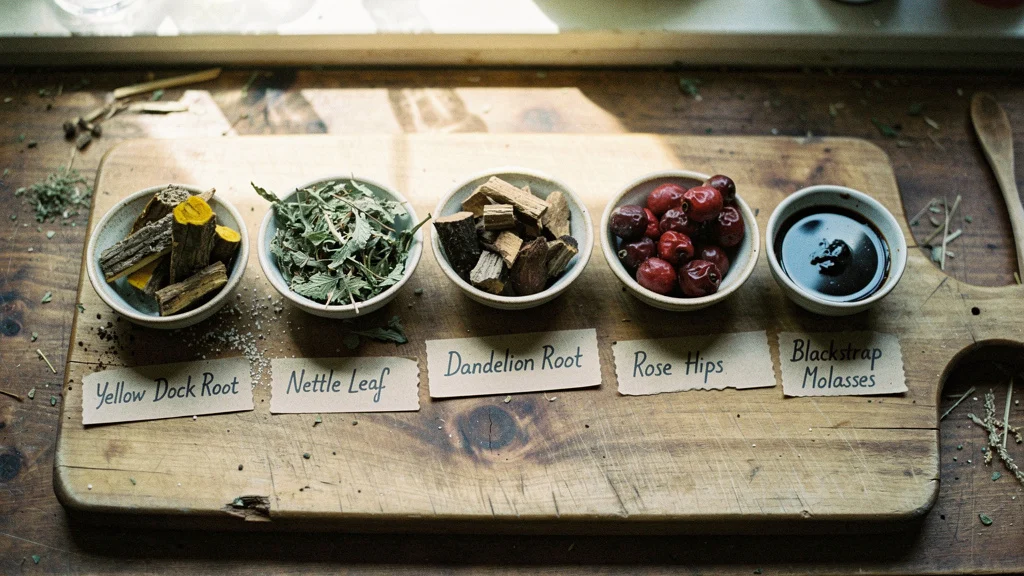
Yellow dock root is the backbone. Studies summarized by one herbalist suggest that yellow dock stimulates the liver to release stored ferritin into the bloodstream when iron levels drop, making it more than an iron source. The root’s bright yellow color historically signaled its connection to bile and liver function in indigenous herbal traditions. We simmer it longer than any other ingredient because roots are dense and need time to release their compounds into water.
Nettle leaf contributes both iron and a broad spectrum of minerals. Nettle is one of the most commonly cited herbs in traditional iron tonic recipes, and it steeps easily compared to roots. We add it after the initial root decoction to preserve its more delicate nutrients.
Dandelion root supports digestion and liver function, two systems that directly affect how the body processes and stores iron. Like yellow dock, it requires a long simmer to extract its active compounds.
Rose hips deliver vitamin C, which is key for non-heme iron absorption. One tablespoon of a finished syrup made with rose hips can contain enough ascorbic acid to meaningfully boost uptake from the other herbs in the blend.
Blackstrap molasses is not an herb, but it is non-negotiable. One tablespoon contains three milligrams of iron, plus calcium, magnesium, potassium, and B vitamins. It is the darkest, most mineral-dense byproduct of sugar refining, and it turns a thin herbal tea into a thick, shelf-stable syrup.
Some recipes add seaweed, goji berries, dried apricots, or hawthorn berries. We keep it simple. Five ingredients, one method, and a result that tastes strong but not unpleasant.
How to Make an Iron Tonic Recipe Step by Step
Step one: Simmer the roots. Combine two tablespoons of yellow dock root and one tablespoon of dandelion root in three cups of filtered water. Bring to a boil, then reduce to a low simmer. Cover and cook for twenty minutes. Roots are dense, and a short steep will not pull enough compounds into the water. We use filtered water for everything we preserve or ferment, and that habit carries over here.
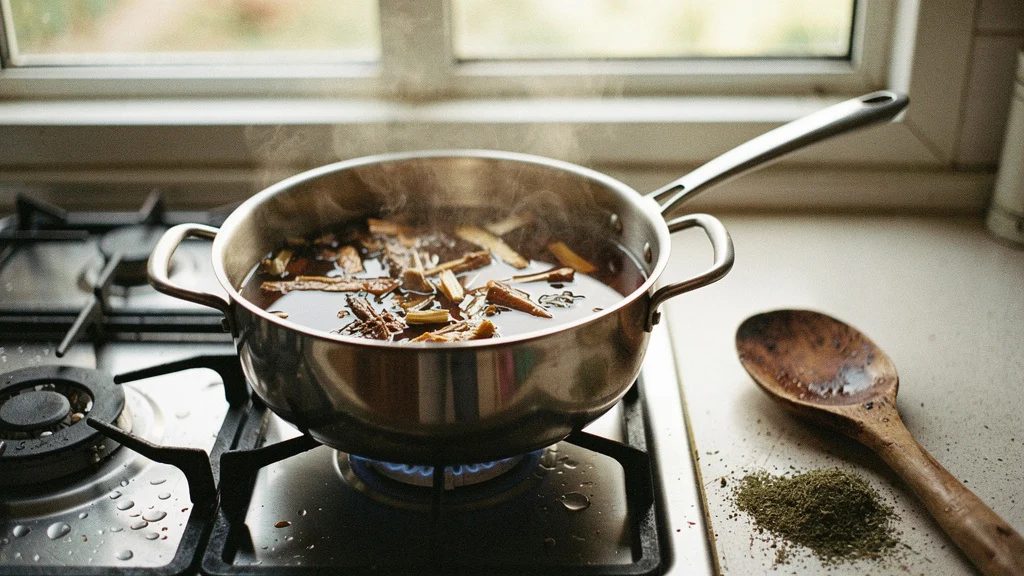
Step two: Add the leaves and rose hips. After twenty minutes, add one tablespoon each of nettle leaf and rose hips. Turn off the heat, cover the pot, and let it steep for another twenty minutes. This is an infusion step, not a decoction, and it protects the more fragile nutrients in the leaves and fruit.
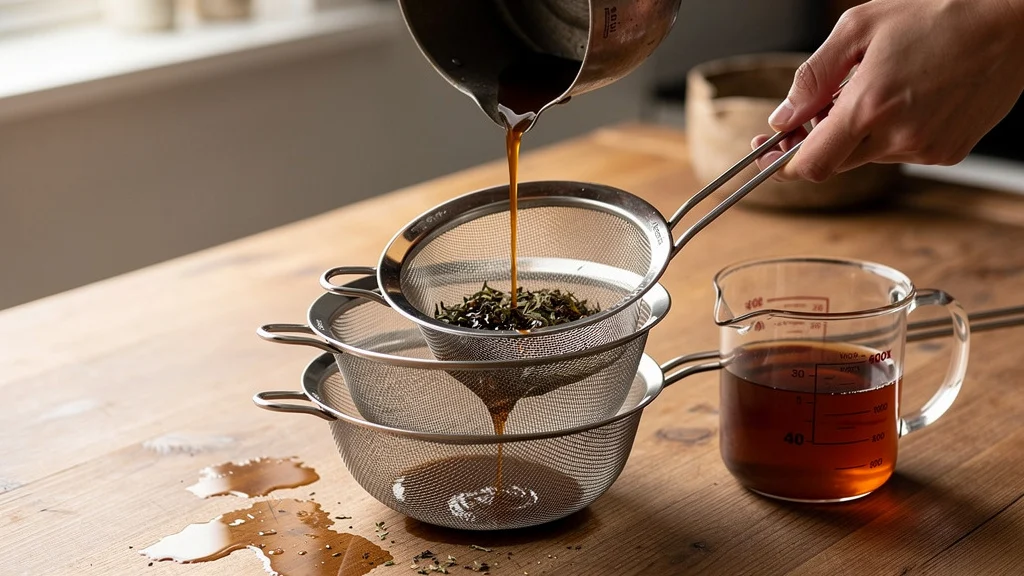
Step three: Strain and reduce. Pour the liquid through a fine-mesh strainer or cheesecloth into a clean saucepan. Compost the spent herbs. Return the liquid to the stove and simmer uncovered until it reduces by half. This is where we burned the first batch. The reduction happens slowly at first, then accelerates as the volume drops. Jenna Volpe, writing for the Adirondack Almanack, recommends transferring the liquid to a wider pan to speed evaporation and setting a timer to check progress every few minutes. We do both.
Step four: Add the molasses. Once the decoction has reduced to about one and a half cups, remove it from the heat and let it cool for five minutes. Stir in one-quarter cup of blackstrap molasses. The ratio of sweetener to decoction varies across recipes. Traditional syrups use a one-to-one ratio for long shelf life, but some herbalists prefer a one-to-three ratio and store the syrup in the refrigerator, where it keeps for two to three weeks. We split the difference: enough molasses to preserve and sweeten, but not so much that it overwhelms the herbal flavor.
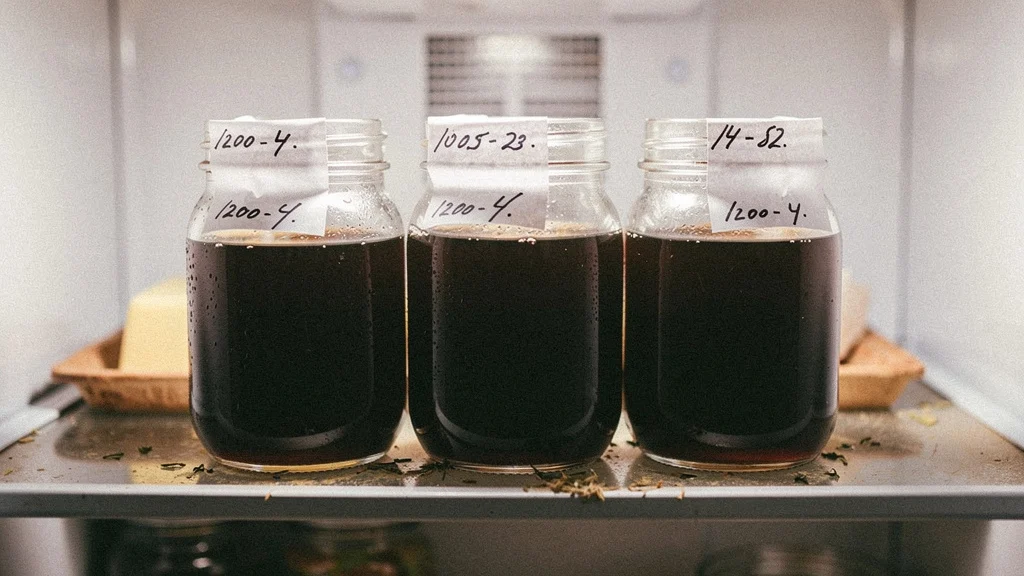
Step five: Bottle and store. Pour the finished syrup into a clean glass jar with a tight lid. We store ours in the refrigerator, where it lasts two to three weeks without alcohol. Adding three-quarters of a cup of brandy, bourbon, or vodka extends shelf life to six months, but we prefer to make small batches and skip the alcohol.
What We Learned After Our First Failed Batch
Not all molasses is the same, and that matters more than we expected. The first time, we used a lighter molasses because it was what we had in the pantry. The syrup tasted thin and lacked the mineral density that blackstrap provides. Blackstrap is the final byproduct of sugar refining, the darkest and most concentrated, and it is the only type worth using in an iron tonic recipe.
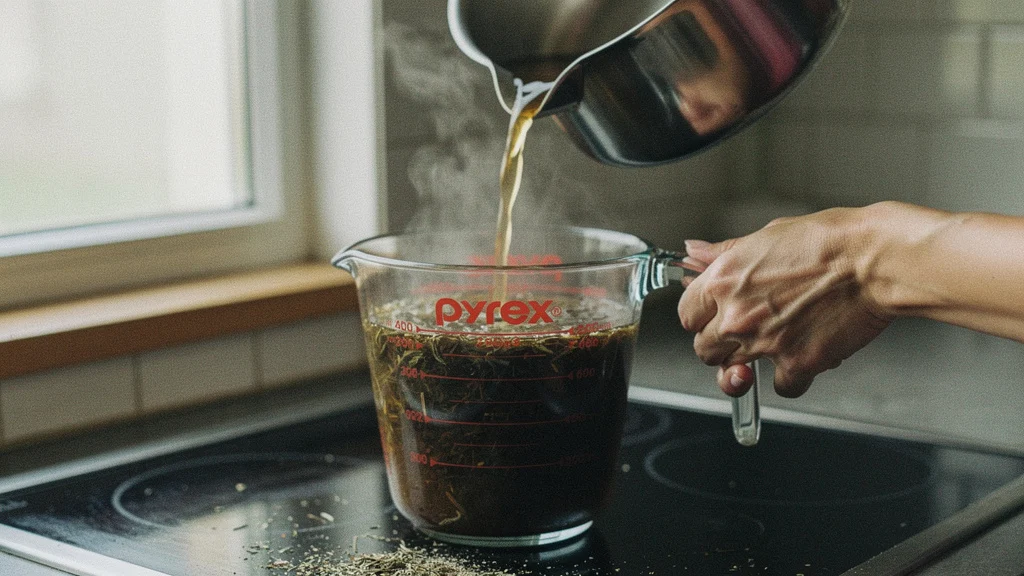
Timing the reduction matters more than we expected. Reducing by half sounds simple, but it requires frequent measurement. We keep a heat-proof measuring cup next to the stove and check the volume every few minutes once the liquid drops below two cups. The difference between a properly reduced syrup and a scorched pan is about three minutes of inattention.
Storage was another lesson. We tried leaving the first successful batch on the counter, assuming the molasses would preserve it. It did not. Within a week, the syrup developed an off smell and a thin layer of mold on the surface. Refrigeration is not optional unless you add alcohol, and even then, we prefer the fridge.
One more thing: liquid iron supplements, including homemade ones, can stain teeth. We learned to mix each dose with a small amount of water or juice and drink it quickly, then rinse. It is a minor inconvenience, but worth noting.
According to Jenna Volpe, RDN, each tablespoon of a similar syrup provides approximately thirty-six milligrams of non-heme iron, though that figure depends on the herbs used, the reduction ratio, and the molasses content. Without lab testing, dosage remains approximate, so consistency matters more than precision.
The Best Ways to Take Iron Tonic Daily
The standard dose for adults is one tablespoon, taken one to three times daily. For children, one teaspoon daily is the commonly cited amount, though we think any child’s supplement plan should involve a pediatrician, not a blog. Shake the jar well before each use, because the molasses and herbal sediment settle.
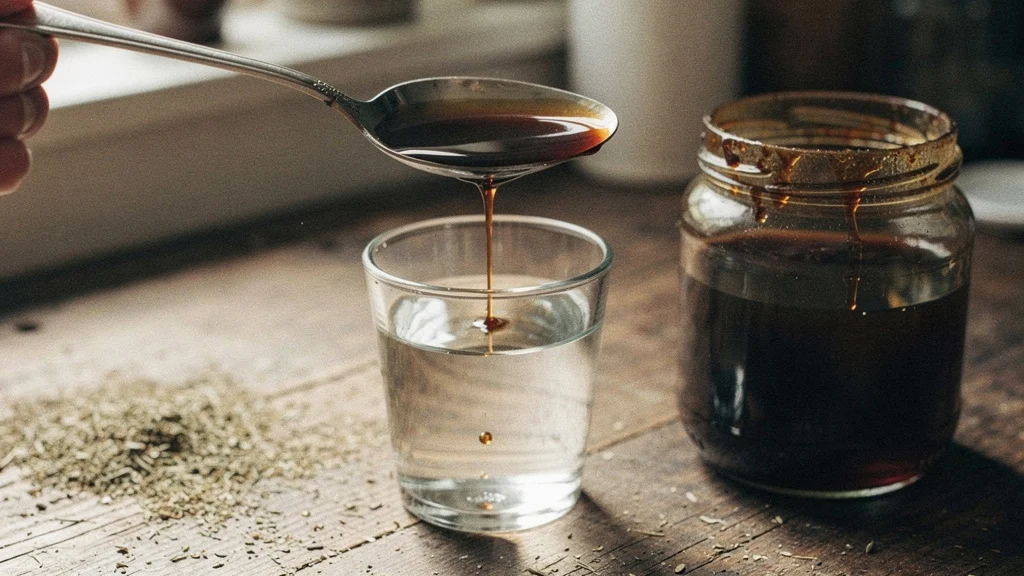
We take ours in the morning, straight from the spoon, followed by a glass of water. The taste is strong—earthy, sweet, slightly bitter—but not unpleasant once you expect it. Some people mix it into warm water or herbal tea. Others add it to smoothies, though the dark color and distinct flavor will dominate whatever you blend it with.
Iron supplements, including herbal ones, are best absorbed on an empty stomach, ideally one hour before or two hours after eating. That said, if the syrup causes any stomach discomfort, taking it with a small amount of food is fine.
One lab technician, according to a story shared in an herbal syrup recipe, saw her iron levels jump from twenty-two to one hundred twenty after two weeks of daily iron syrup before surgery. Another account describes a child whose iron levels rose significantly after one month of yellow dock root tincture. These are anecdotes, not studies, and they do not tell us how much of the improvement came from the herbs versus other dietary or medical changes. But they suggest that consistent use over weeks, not days, is what moves the needle.
When to Make a Fresh Batch
Without alcohol, a refrigerated iron tonic recipe lasts two to three weeks. With alcohol, up to six months. We make ours every two weeks, which keeps the process familiar and the syrup fresh. The herbs are inexpensive, the method is quick once you know it, and we prefer the taste of a recently made batch.
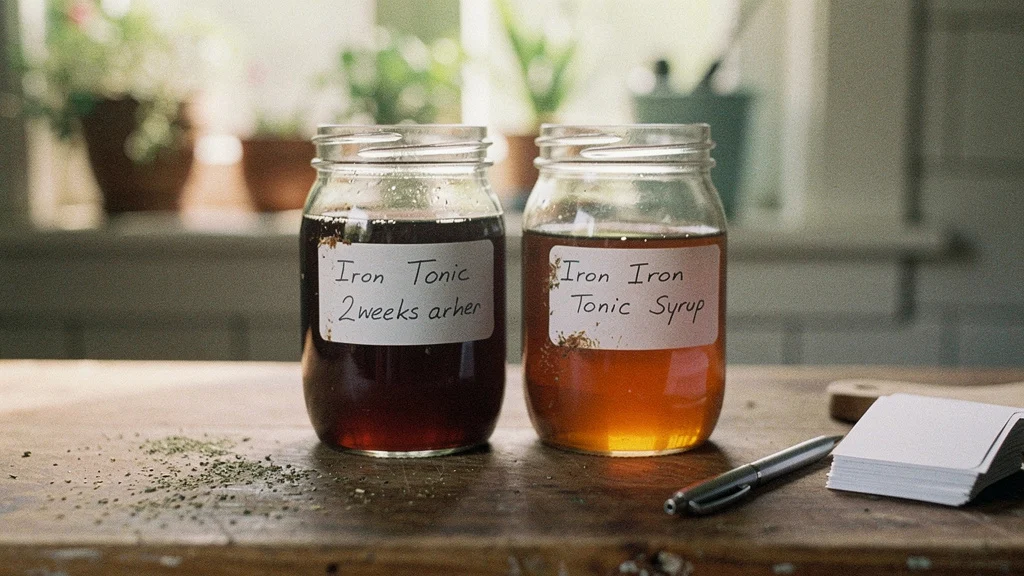
Signs that a batch has gone bad: an off smell, visible mold, or a fizzy texture when you shake the jar. If any of those appear, discard it and start over. We have never had a batch spoil in the fridge within two weeks, but we have seen it happen when we left one out too long or used a jar that was not fully clean.
We also make a fresh batch if we change the herb ratio or try a new ingredient. The base recipe is consistent, but we occasionally add a tablespoon of dried seaweed or a handful of goji berries to see how the flavor and texture shift. Each variation gets labeled with the date and the change, so we can track what works.
What an Iron Tonic Recipe Can and Cannot Do
An iron tonic recipe is a supplement, not a cure. It will not reverse a severe deficiency overnight, and it will not replace medical treatment when iron levels are critically low. One Reddit user described significant improvement after three months of pharmaceutical iron bisglycinate, paired with vitamin C and vitamin D. That kind of targeted, high-dose intervention is what a diagnosed deficiency often requires, and no kitchen syrup can match it.
What a homemade iron tonic recipe can do is provide a steady, gentle source of plant-based iron for people who want to support their levels without the gastrointestinal side effects of synthetic pills. It can also deliver a spectrum of minerals and cofactors that isolated supplements do not include. And it can be part of a broader strategy that includes iron-rich foods, smart timing around coffee and tea, and attention to absorption enhancers like vitamin C.
We think this approach makes sense for people who already cook from scratch, who are comfortable with herbal preparations, and who have the time to simmer, reduce, and store a syrup every few weeks. It does not make sense for someone who needs a fast, measurable intervention, or for someone who finds the taste or texture off-putting enough that they will not take it consistently.
The burned batch taught us that an iron tonic recipe is not complicated, but it is not casual either. It requires attention at every step, from the initial simmer to the final pour. The result is a syrup that tastes like the herbs it is made from, that stores well when handled correctly, and that delivers iron in a form the body can use. That is enough for us.


