
What this covers
- Why All-in-One Bags Are Worth the Trade-Offs
- Step 1: Choose the Right Species for Your Climate
- Step 2: Inoculate with Clean Hands and Minimal Exposure
- Step 3: Wait Without Checking Every Day
- Step 4: Find the Right Spot Before Fruiting Begins
- How to Use Mushroom Growing Bags: Open and Mist Correctly
- Step 6: Harvest Cleanly to Protect Future Flushes
- Step 7: Know When the Bag Is Spent
- What the Yield Numbers Actually Mean
- The Real Cost of Mistakes
- How to Use Mushroom Growing Bags Without Wasting Money
Learning how to use mushroom growing bags sounds straightforward until the first bag turns green with mold, the second one stalls for weeks without visible growth, and the third produces a handful of mushrooms before giving up entirely. All-in-one grow bags promise simplicity, but the gap between the marketing and reality is wide enough to lose a lot of money and patience.
These bags are better than building a sterile lab in the basement, but they are not foolproof. The contamination rate matters, the placement matters, and the misting schedule matters more than most instructions admit. A Reddit thread on all-in-one bags shows the split: some growers report success with minimal effort, while others describe contamination issues that make the bags feel like a gamble. The difference is not luck. It is technique, and most of it comes down to seven specific steps that beginners skip or misunderstand when learning how to use mushroom growing bags.
Why All-in-One Bags Are Worth the Trade-Offs
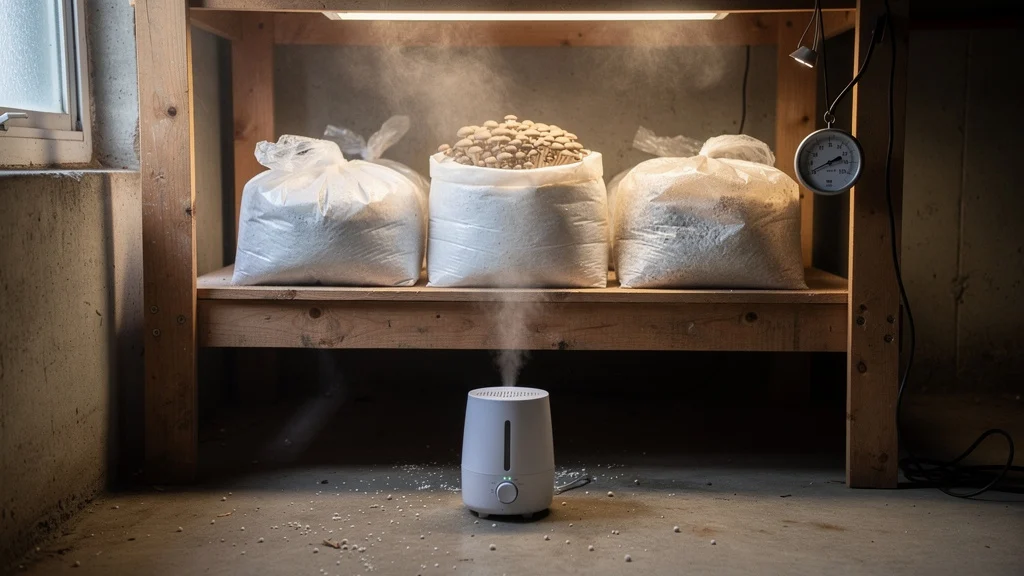
An all-in-one mushroom grow bag is a closed bag containing a sterilized mixture of substrate and grain spawn. No pressure cooker needed, no separate step for inoculation, and no subsequent transfer of colonized grain to bulk substrate. Spores or liquid culture are injected through a self-healing injection port, and after a while the bag is opened up to harvest the mushrooms.
The trade-off is contamination risk and yield uncertainty. Community reports show that contamination is a recurring complaint, with some growers blaming the bags and others pointing to handling errors. A forum discussion on mushroom cultivation noted one grower checking bags five to six times per day, which may have contributed to contamination by introducing competing organisms. That matches what cultivation guides say about sterile technique: every time the bag is opened or the filter patch is touched, the risk climbs.
Cultivation guides for oyster mushrooms grown in grow bags say they can produce 2.2-3.3 lbs (1-1.5 kg) per harvest. Shiitake mushrooms grown in bags can produce 0.5 to 1 lb per bag. Auricularia mushrooms have biological efficiency that declines with each flush—the first flush averages 54.05% efficiency followed by 52.70% for the second flush, 41.20% for the third flush and 37.83% for the fourth and subsequent flushes.
Those numbers matter because they set realistic expectations. A bag that gives you three pounds of oysters total isn’t failing—it’s performing exactly as designed.
Step 1: Choose the Right Species for Your Climate
A mushroom growing bag cannot compensate for an inappropriate species. Tree Oyster mushrooms are native to the Pacific Northwest and struggle in warmer, more humid climates. Similarly, King Oyster, Shiitake and Lion’s Mane mushrooms all have preferred temperature and humidity ranges. Growing them outside of these ranges can result in slow colonization, weak flushes and complete failure.
Sources indicate oyster mushrooms have a temperature range of 55-75°F (13-24°C) for healthy growth. Most home cultivated mushrooms fruit between 55 and 75 degrees Fahrenheit, with oyster mushrooms preferring 55 to 65 degrees Fahrenheit and shiitake fruiting from 55 to 70 degrees. During spawn run (colonization), oyster mushrooms prefer 75-85°F (24-29°C).
One agricultural extension source states oyster and shiitake mushrooms typically take six to eight weeks from start to harvest. That’s the average. King oysters can take four months. If the house stays at 80°F all summer, shiitake will stall out and oysters will struggle—no amount of misting fixes that.
Step 2: Inoculate with Clean Hands and Minimal Exposure
The self-healing injection port re-seals after a needle puncture. Community cultivation guides recommend cleaning the surface of the port with isopropyl alcohol before injection and never touching the end of the needle after flame-sterilizing it.
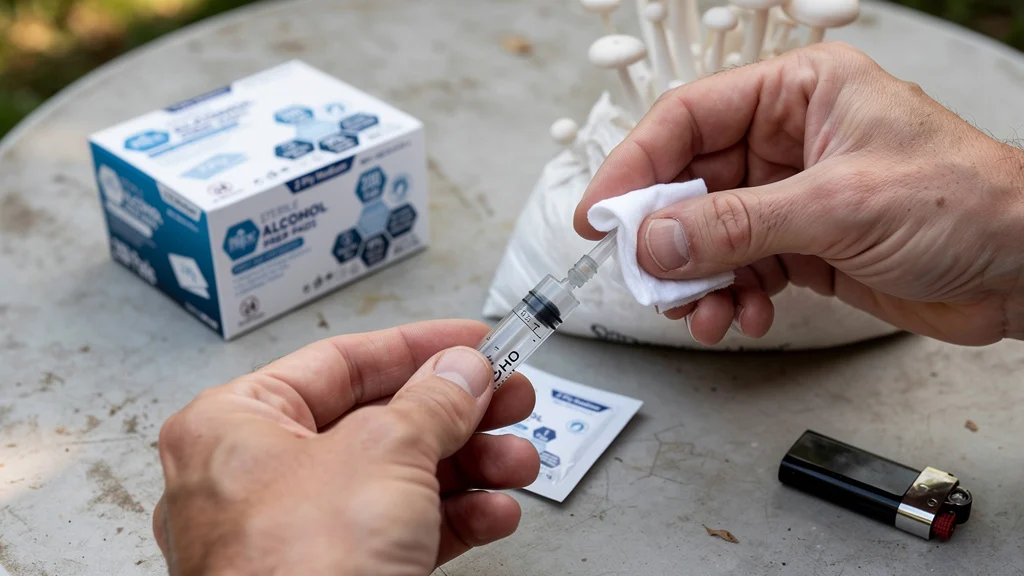
Inject slowly—over 10 to 15 seconds for a standard 10cc syringe—and use multiple injection points if the bag is larger than 5 lbs. The goal is to distribute the spore or liquid culture solution throughout the substrate rather than pooling it in one spot, which speeds colonization by giving the mycelium more starting points. Some growers inject near the viewing window to monitor mycelium growth, but this is a convenience and not required.
Forum posts suggest checking that the injection port has sealed properly after inoculation. If not, covering the area with a piece of micropore tape is recommended.
Store the bag in a dark, stable location. Colonization does not require light and large fluctuations in temperature will only slow down the mycelium. This is where most contamination happens—not from the injection itself, but from touching the port with dirty hands or using a needle that wasn’t properly sterilized.
Step 3: Wait Without Checking Every Day
Patience is not optional.
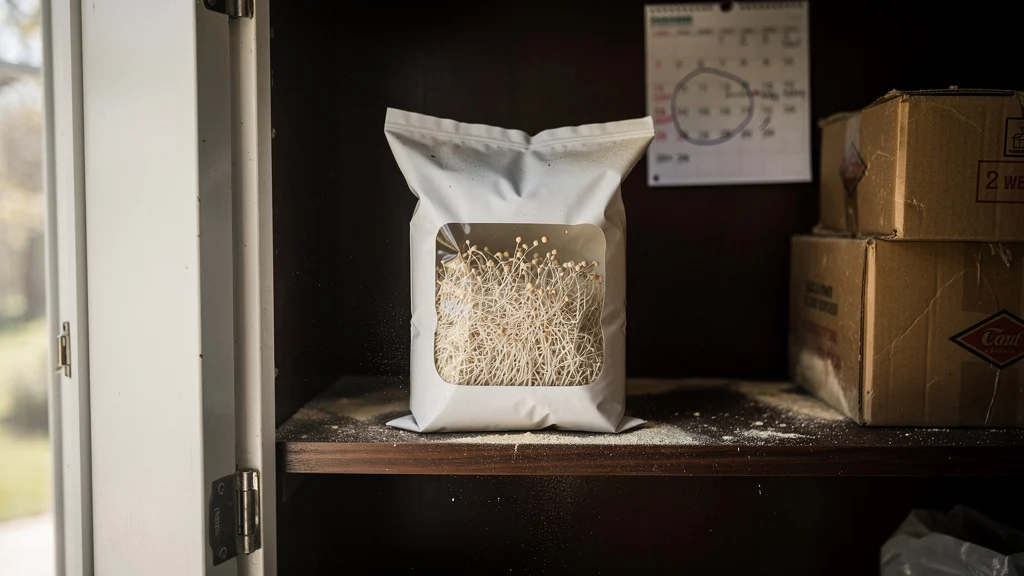
A permaculture forum discussion noted that mushroom cultivation does not offer the daily visible progress of a tomato plant. Mycelium grows slowly and invisibly until it suddenly does not. King oyster mushrooms, for example, can take four months from inoculation to the first flush, with the flush itself happening almost overnight once colonization completes.
Checking the bag daily does nothing to speed the process and increases contamination risk every time the bag is moved or the filter is exposed to airborne spores. Set a calendar reminder for two weeks after inoculation, then check once per week. Look for white, thread-like mycelium spreading through the substrate. Green, black, or pink patches indicate contamination, and those bags should be discarded immediately, away from other growing areas.
This is harder than it sounds. The urge to peek is strong, especially in the first week. Resist it.
Step 4: Find the Right Spot Before Fruiting Begins
Temperature, humidity, light, and air exchange all shift once the substrate is fully colonized. Primary cultivation sources indicate most home cultivated mushrooms fruit between 55 and 75 degrees Fahrenheit, with humidity between 80 and 95 percent relative humidity. The mushrooms need indirect light for six to twelve hours per day to develop properly.
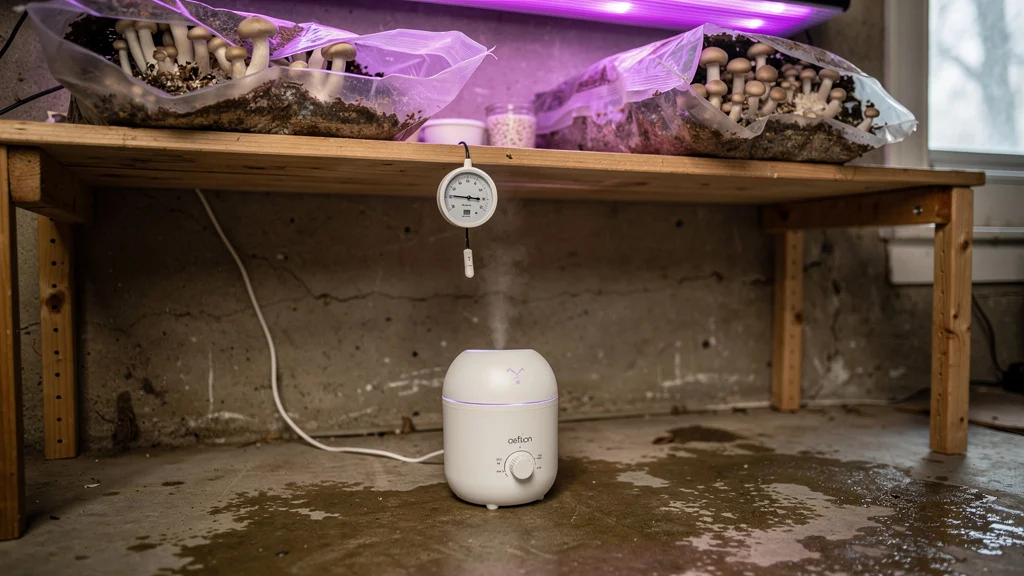
A bathroom with a window works if the temperature stays stable. A basement corner with a small humidifier and a grow light is another option. Avoid direct sunlight, which dries out the substrate too quickly, and avoid spaces with heavy air movement from vents or fans, which drop humidity faster than misting can replace it.
A Reddit post from a grower in Cambodia described building bamboo racks on a balcony for the bags and filling a bathtub with water to create humidity. Such flexible arrangements can be very successful, as long as the basic requirements are met. Move the bag to a different location after two weeks if no flush has developed yet—sometimes a few degrees or a bit more light makes all the difference.
Step 5: Open and Mist Correctly
When the mycelium has fully colonized the substrate, cut open the top of the bag or roll it down. Some kits come with a humidity tent to maintain moisture but some rely on the ambient moisture in the room and you will need to keep the surface damp but not soaking.
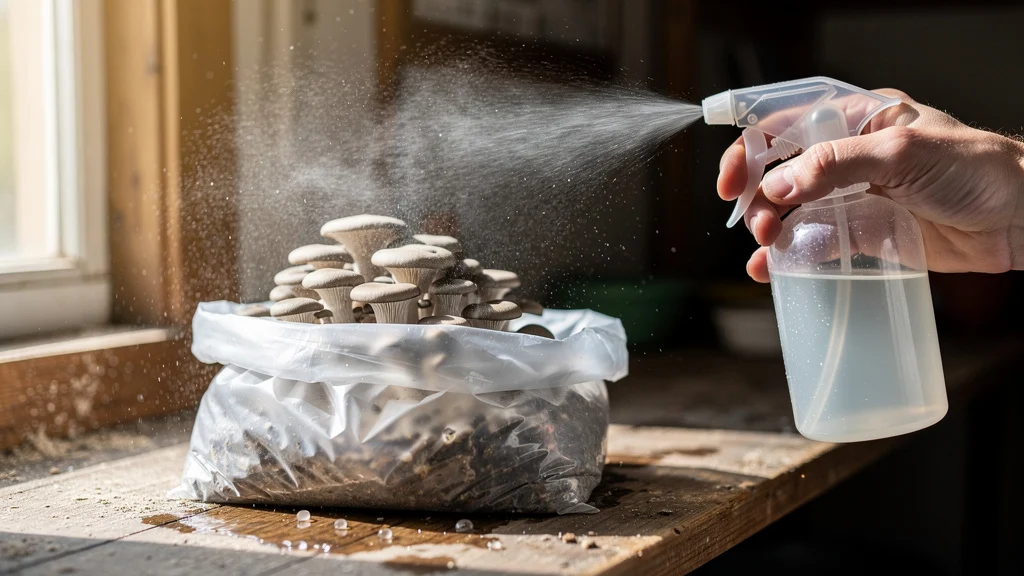
Current cultivation guides recommend misting the inside walls and floor of the fruiting chamber two to four times per day, and to avoid spraying water directly on the mushrooms. Pooled water invites contamination from competing organisms. One forum post explicitly advised against direct spraying for this reason.
That said, another community report noted that some commercial growers in the Philippines spray directly onto bags and mushrooms without issue, suggesting that technique and environment matter more than the rule itself. The safer approach for beginners: mist the inside of the humidity tent or the air above the substrate, letting the droplets settle rather than soaking the surface. Mist two to four times per day, more often in dry climates, less often in humid ones. The substrate should look moist but not glossy.
Step 6: Harvest Cleanly to Protect Future Flushes
The caps of mushrooms to be harvested should be mostly flat with some of the edges curling up. Oyster mushrooms are ready to harvest very quickly, within days of the pins first appearing. Shiitake mushrooms take a bit longer and should be harvested when the caps are at least half open.
Harvest the entire cluster at once. Cut the stems at the base of the cluster with a sharp knife. Do not twist or pull on the stems as this can damage the mycelium and lead to decreased yields in subsequent flushes.
Remove any damaged or decaying tissue from the surface of the substrate as this can slow down the block’s recovery from harvest and lead to contamination. It takes time for the block to recover from the first harvest. Keep the humidity up and follow any rehydration instructions provided for the growing kit. Within 3 months four subsequent harvests of smaller but still valuable mushrooms can be produced, though the biological efficiency declines with each flush.
Step 7: Know When the Bag Is Spent
A mushroom grow bag does not last forever.
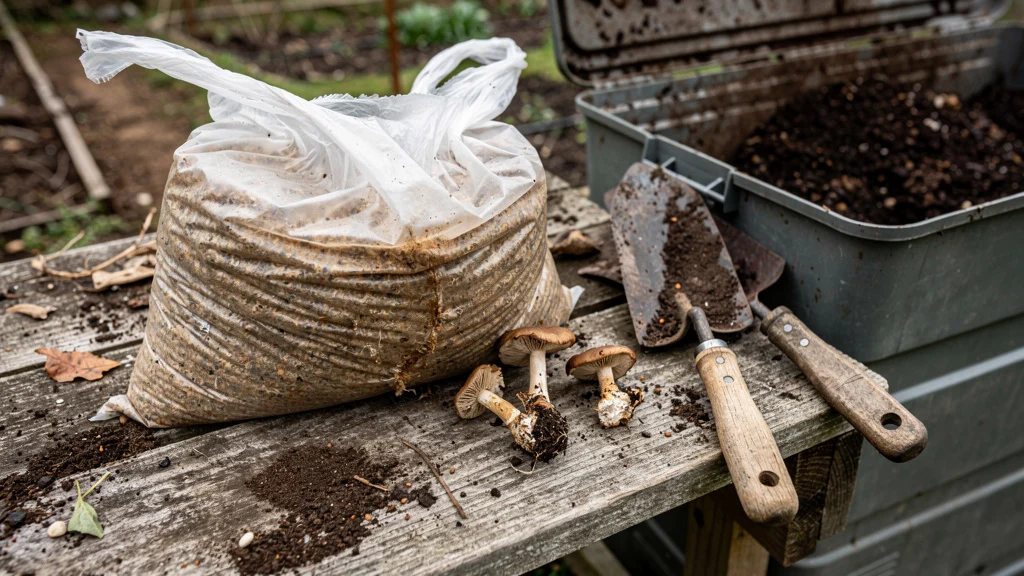
The substrate contains a finite amount of digestible material, and each flush depletes it further. Research shows biological efficiency is calculated as total weight of fresh mushrooms divided by dry weight of substrate × 100, and can exceed 100% because fresh mushrooms contain 80-95% water absorbed from the environment during fruiting. Most bags include grain spawn, which boosts the yield, but the principle holds: the bag will eventually stop producing.
Once the bag is spent, it may take two weeks of correct fruiting conditions for the mycelium to stop producing pins. It will start to smell strongly of sour or ammonia-like smells and often become contaminated. At this stage the spent substrate can be added to the compost or used as a soil amendment. Some growers bury their spent blocks in a shaded outdoor area of the garden and they will occasionally produce more mushrooms before decomposing completely.
What the Yield Numbers Actually Mean
Yields from Ethiopian shiitake research ranged from 120.33 g to 434.33 g per 500g of substrate tested. Biological efficiency varied between 24.33% and 86.83% depending on the substrate. An overview of research into shiitake grown using alternative substrates revealed that while mushroom weight decreased by 18.96% to 53.88% compared to control, the results were often very good.
Unfortunately most all-in-one bags do not reveal the strain that has been used, making it very hard to estimate the potential yield. The largest portion of the total yield comes from the first flush, and subsequent flushes rapidly decline in weight and frequency. While the yield of mushroom cultivation is sufficient for a few meals, it is not enough to consider it as a store-bought produce replacement.
The Real Cost of Mistakes
Most mistakes with mushroom cultivation result in expensive contamination. A contaminated bag is a total loss but contamination between bags can increase in cost very quickly. The two most common mistakes are over-handling of the material during the colonization phase and under-misting of the material during the fruiting phase. Both of these mistakes are avoidable but are not readily apparent from most mushroom growing kits‘ instructions.
The other costly mistake is mismatched expectations. A bag that produces nothing after four weeks of proper fruiting conditions is either contaminated, too cold, or from a bad batch. Knowing the difference requires understanding what normal colonization and fruiting timelines look like for the chosen species when learning how to use mushroom growing bags.
How to Use Mushroom Growing Bags Without Wasting Money
All-in-one mushroom grow bags are not magic but rather a convenient way for beginners to start growing fresh mushrooms. They are not meant to be used in a sterile environment and one must be realistic as to what to expect. To produce quality fresh mushrooms one must follow the simple steps of clean inoculation, patient colonization, correct placement, good misting and clean harvesting.
Some bag brands will do better than others in the face of contamination debates. Growers report using Magic Bag, Zombie Bag, and Shroom-Tek from North Spore successfully, but results vary widely. Technique far outweighs brand. Even the perfect bag will fail if not treated correctly, while a mediocre bag will produce well if cared for properly.
If the goal is learning how to use mushroom growing bags effectively, start with oysters, choose a stable location before opening the bag, and resist the urge to check progress every day. The single biggest mistake? Moving or handling bags during colonization. Leave them alone in a dark spot at 75-85°F and check once per week, not once per day. That patience—boring as it is—makes the difference between a bag that fruits and one that turns into an expensive science experiment gone wrong.


Brilliant guide, thank you. I have been meaning to try mushroom bags for ages. Would you suggest a specific variety for beginners to start with?