
What this covers
- Step One: Scout Your Locations in Spring, Not During Harvest Season
- Step Two: Calculate How Much Elderberry You Actually Need
- Step Three: Harvest Whole Clusters and Freeze Them Immediately
- Step Four: Process in Batches and Choose Your Preservation Method
- Step Five: Store Everything in a Way That Preserves Quality
- What This System Actually Delivers
Most foragers either over-harvest in the first year and then barely pick anything the second, because they don’t have a clear target or a processing plan. The pattern shows up repeatedly in foraging forums: people haul home twenty pounds of elderberry, spend hours wrestling with stems, and end up with freezer bags they never touch again. Or they pick two pounds, make one batch of syrup, and wonder why they bothered.
This approach gives you a harvest target based on actual household use, a spring scouting method that eliminates August guesswork, and a freezing trick that cuts de-stemming time from two hours to twenty minutes. The system runs sequentially from locating patches months before harvest to choosing storage methods that match how you’ll actually use the berries through the year.
Step One: Scout Your Locations in Spring, Not During Harvest Season
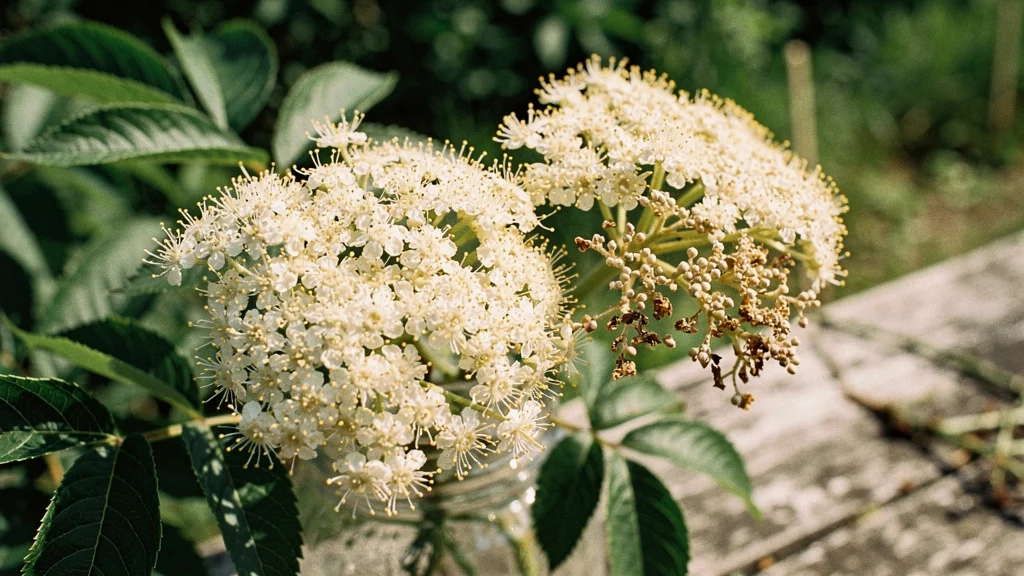
Elderberry bushes make very distinctive white-flowering shrubs in spring, but turn into almost-unknown plants once the flowers drop off. They’re everywhere—ditches, field edges, stream banks—but many of those locations aren’t safe to forage from. A Reddit foraging thread and a Meat Eater foraging guide both recommend scouting elderberry locations in spring when the plants are most visible, then returning in August to harvest the fruit.
This eliminates the worst part of being a first-year forager: driving all over in late summer hoping to stumble on ripe fruit.
The best patches grow in full sun near water. Black-fruited varieties prefer the eastern parts of North America while blue-fruited types favor the West, and all of them thrive in roadside ditches, riparian zones, wet meadows, and field edges. Look for medium-sized shrubs with gray or tan bark, opposite pinnately compound leaves with about seven serrated leaflets, and flat-topped clusters of cream-colored flowers that leave golden pollen on your hands. The flowers themselves are edible and can be used for fritters or cordials, though harvesting them reduces the berry yield later in the season. If your goal is a year’s supply of fruit, leave the flowers intact and mark the location for a late-summer return.
Foraging for roadside berries is often a point of contention. While some foragers avoid eating berries that have fallen near the road due to contamination concerns, they may collect cuttings from these same locations to root at home and enjoy heavier production from the plants growing in ditches. This is a reasonable compromise when the heaviest-fruiting plants are in ditches but you wish to have the cleanest fruit possible. Contamination risk depends on the volume of traffic, the distance from the pavement, and use of herbicides in the area. Patches growing on rural routes with very light traffic are at lower risk than patches growing right next to busy highways and should be set back at least fifteen feet from the road’s edge.
One Southern California forager reported on Reddit harvesting approximately five gallons from a single location and barely making a dent in the available supply. A mature bush in full sun can produce twenty to thirty pounds of fruit in a good year, and most wild patches contain multiple bushes clustered together. Mark your spots in spring, and you will not waste August driving around hoping to stumble on ripe fruit. Use a GPS app or take photos of landmarks to make sure you can relocate the exact patch when the berries ripen.
Step Two: Calculate How Much Elderberry You Actually Need
Most people overharvest the first year and undershoot the second.
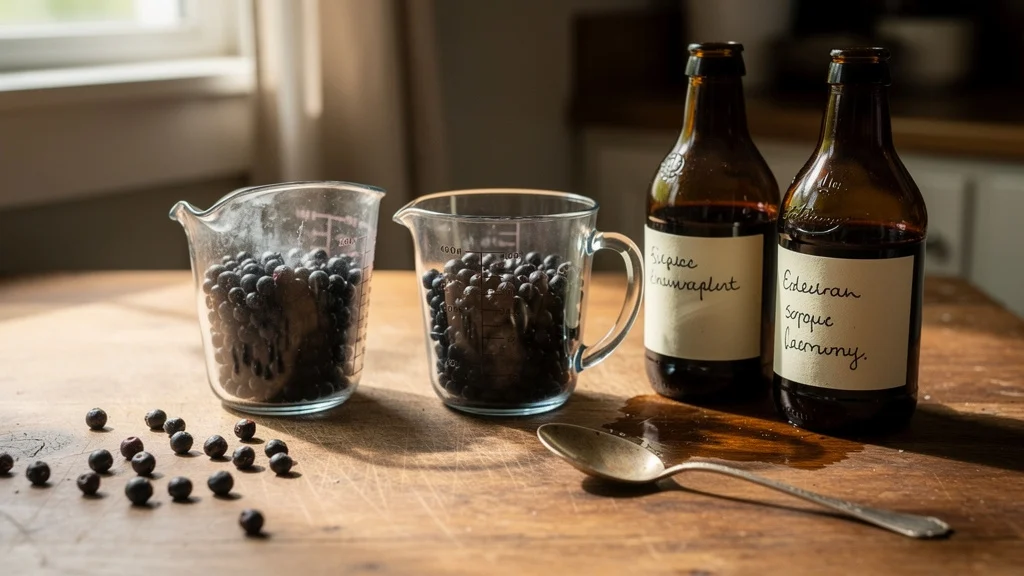
A classic syrup recipe uses one cup of elderberry reduced with six cups of water over low heat until the volume is halved, then strained and combined with one cup of honey or maple syrup. That single cup of berries produces roughly two cups of finished syrup. If your household takes a tablespoon daily during cold season—roughly four months—you will use about a half-gallon of syrup per person. Two adults need one gallon, which requires eight cups of berries.
If you only take syrup when symptoms appear, your annual needs drop to two or three cups of berries per person.
Cooking uses add up quickly if you get into it. According to a Reddit foraging discussion, one cook used about four pounds for deglazing and making pan sauces, reporting that the fruit pairs well with duck, venison, pork, and beef. Another cooked down berries with water to create a tart, sweet beverage for hydration or brewing. The berries also work in pies, jams, and baked goods, though the tartness requires balancing with additional sweetener. Each of these applications requires cooking, as raw elderberry is toxic and must never be consumed fresh.
Fresh berries dry down at a ratio of roughly five to one, meaning five pounds of fresh fruit yields one pound dried. Frozen berries hold their weight. For a year’s supply, a reasonable target is twelve cups fresh (about six pounds) for syrup, two pounds for cooking, and another two pounds to freeze or dry as backup stock. That is ten pounds total, which fits comfortably in two gallon bags and takes less than two hours to pick from a good patch. This target assumes a two-person household with moderate use. A family of four taking syrup daily through winter should double the syrup allocation to sixteen cups of berries, bringing the total harvest to fourteen pounds.
Step Three: Harvest Whole Clusters and Freeze Them Immediately
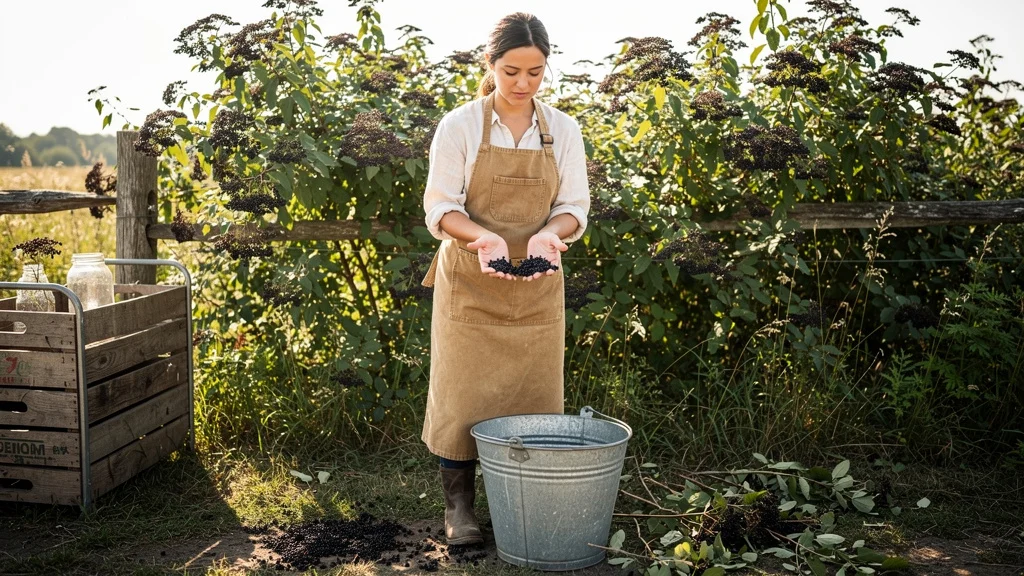
Pick elderberry by snapping whole heads of fully ripe fruit from the main stem at the base of the cluster. Use your thumb and forefingers, and bring pruning shears if the stems are thick.
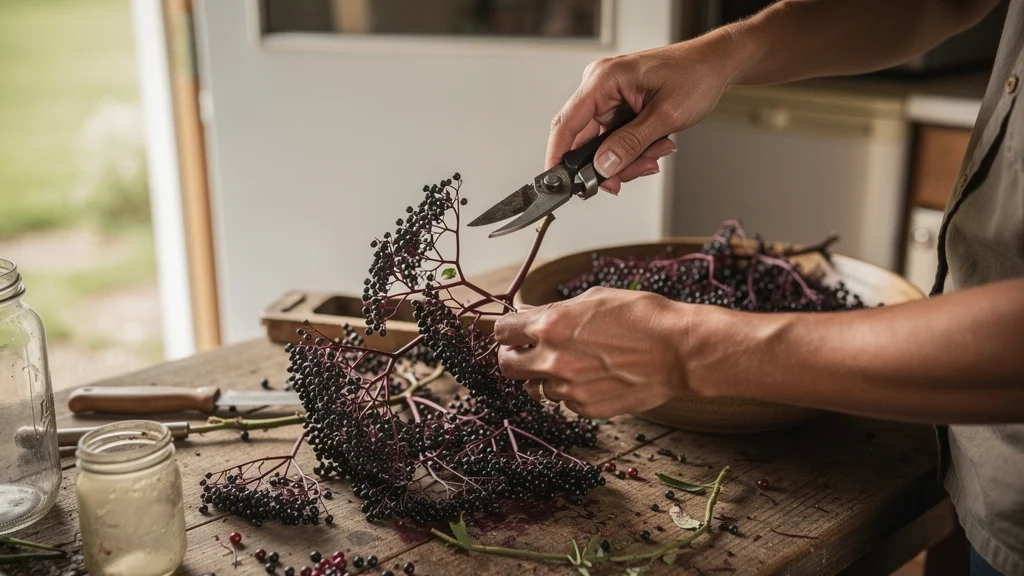
Ripe berries are deep purple or blue-black depending on variety, with all fruit in a cluster ripening at roughly the same time. Berries spoil quickly after harvest, so one extension guide recommends picking during the cooler part of the day and processing as soon as possible. If you cannot process right away, refrigerate at thirty-five to forty degrees or freeze immediately to preserve quality. Heat accelerates spoilage, so avoid leaving filled bags in a hot car or in direct sun during the harvest.
Multiple foragers report that freezing first makes de-stemming dramatically faster, even if you plan to make syrup that evening.
Unripe elderberries and other parts of the plant (e.g., elderberry leaves and stems) contain cyanogenic glycosides. If these are ingested raw, they can release toxic amounts of cyanide during digestion, which then travels through the bloodstream and prevents the body from using oxygen properly. In severe cases, eating raw elderberries or drinking raw elderberry juice has caused people to become ill and even required a hospital stay. There is one documented incident in which eleven people suffered from nausea and vomiting after consuming an elderberry juice. Of these, eight suffered from acute gastrointestinal and neurological problems after consuming the juice, which was made from raw elderberries, leaves, and branches. When cooked, elderberries are perfectly safe to eat.
One de-stemming method reported by multiple foragers is to freeze the clusters in zip-lock bags overnight, then use a dinner fork to rake the berries into a bowl. The fruit falls clean without crushing. Another technique is screening: place a wire cooling rack over a baking pan and gently rub the frozen berries over the rack. The berries drop through while stems stay on top. Both work. Freezing first is the step that makes either one fast. Without freezing, de-stemming ten pounds of berries can take two hours of tedious hand-picking. With freezing, the same volume takes twenty minutes.
For short term storage before you can process them, whole bunches can be stored in a large container with paper towels between the layers. But freezing as soon as possible is far safer and more efficient.
Step Four: Process in Batches and Choose Your Preservation Method
Once de-stemmed, your berries can be preserved in three different forms: syrup, frozen berries, or dried berries. Each has different shelf life and uses.
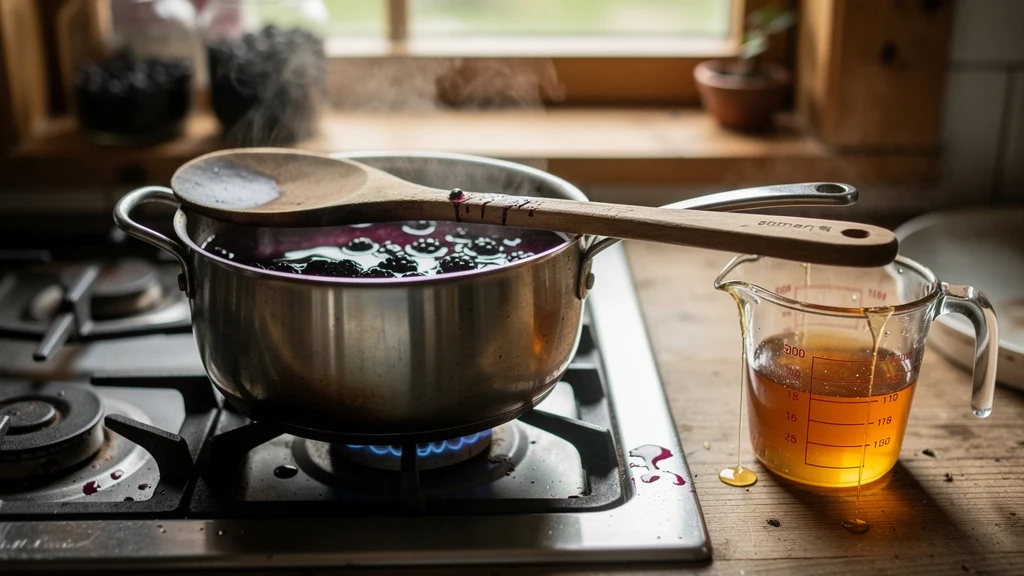
Syrup is the most common form of elderberry preserve, and it is easy to make. One cup of elderberries can be made into syrup with six cups of water, which is then reduced to half over low heat. The solids can then be strained out, and the warm syrup mixed with one cup of honey or maple syrup. Some recipes include a cup of brandy to help preserve the syrup. The syrup can be stored in the refrigerator for several weeks, or for years with proper canning.
American and European elderberries are not high in acid, and must be processed using a high sugar ratio recipe for water bath canning. If in doubt as to the identity of your elderberries, use only the high sugar ratio recipes for canning, or freeze or dehydrate them to preserve them. Tested recipes for products made with elderberries are available on the National Center for Home Food Preservation website, and have been checked for safety in accordance with current standards.
Frozen berries are the simplest option. Spread de-stemmed fruit on a baking sheet, freeze until solid, then transfer to freezer bags. Frozen berries hold for a year and work for any recipe that calls for cooked elderberry. Keeping two pounds frozen each season allows for adding to sauces, baking, or making small batches of syrup. The advantage of freezing over other methods is speed and simplicity—no cooking, no canning equipment, and no risk of processing errors that compromise safety or quality.
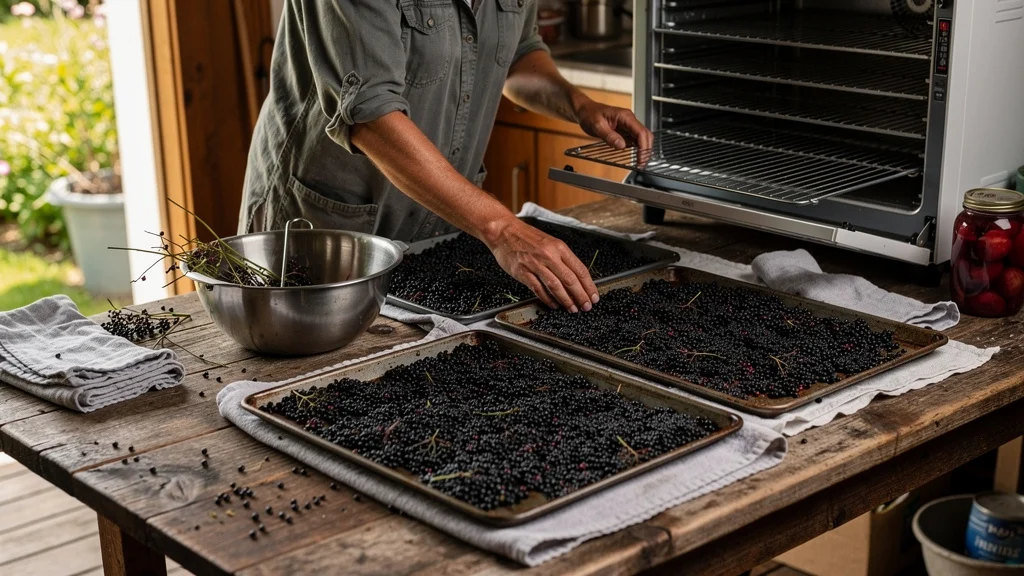
Dried berries take up the least amount of space and can be stored at room temperature. To dry berries, spread out de-stemmed fruit on your dehydrator trays or in your oven on the lowest temperature setting (135°F or below). Dried berries are shelf stable at room temperature and concentrate flavor, but they must be rehydrated before use in most recipes. They are great for making teas, tinctures, and for long-term storage when you don’t have room in your freezer.
Making syrup in two large batches each fall, freezing two pounds whole, and drying the rest covers daily immune support, cooking experiments, and a backup stash that does not require freezer space. Processing in batches over a weekend prevents the work from feeling overwhelming and allows you to adjust methods based on what works best in your kitchen.
Step Five: Store Everything in a Way That Preserves Quality
Refrigerated syrup in a sealed glass jar will keep for about a month. Canned syrup that has been processed in a water bath will keep for up to a year in a cool, dark pantry.
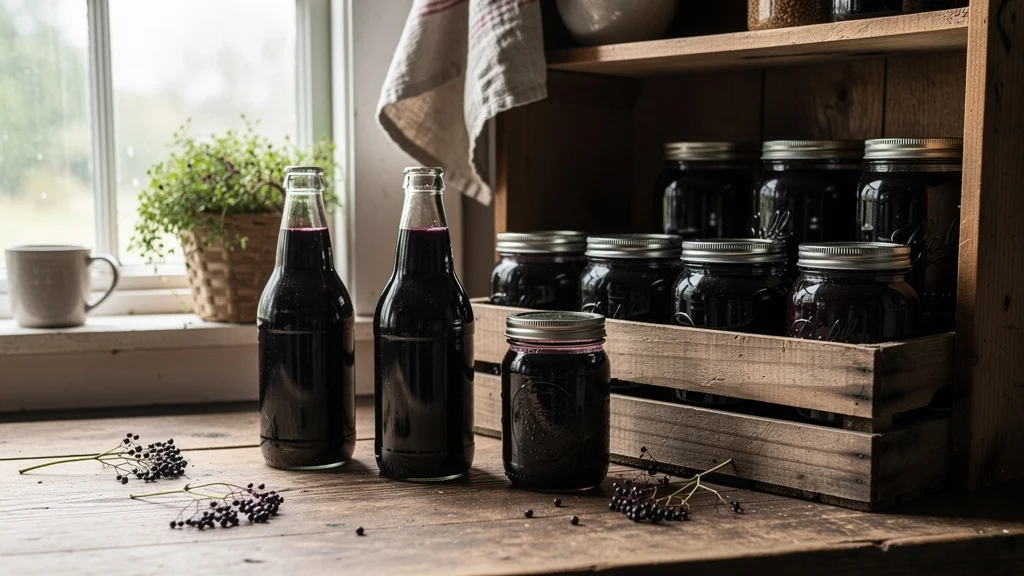
Always label jars with the date they were made and use the oldest syrup first. Glass is better than plastic for storing syrup because it does not absorb flavor or leach out undesirable compounds. Light-colored glass, such as amber or cobalt, will offer extra protection against light degradation, but any glass jar stored in a dark cupboard will be adequate. Light breaks down the anthocyanins that give elderberry its deep purple color and much of its antioxidant activity, so syrup exposed to bright light or sunlight will fade to brown and lose potency over time.
Frozen berries hold their color, flavor, and nutrient content for twelve months in a chest freezer set to zero degrees or below. Vacuum-sealing extends that slightly, but standard freezer bags work fine if you press out the air before sealing. Freezer burn occurs when air contacts the fruit surface, causing dehydration and off-flavors. Double-bagging or using heavy-duty freezer bags minimizes this risk. Check frozen stock every few months and move any bags showing ice crystal formation to the front for immediate use.
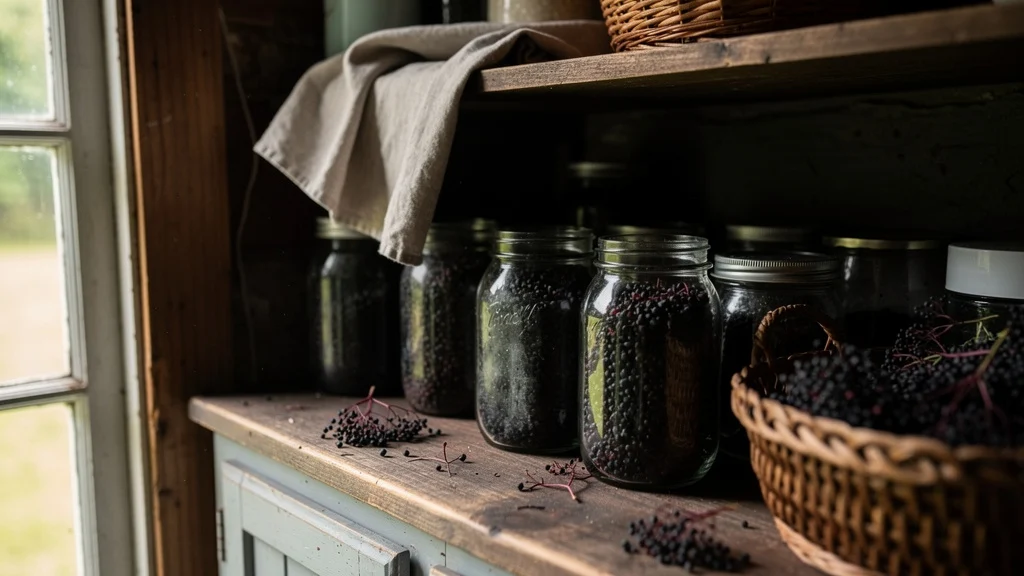
Dried elderberry can be stored in an airtight container in a cool dark place for up to a year. Storage in a basement in a mason jar with a tight lid works well for this fruit. Elderberry’s deep purple color and antioxidants are degraded by light and heat, so storage in clear jars on a sunny shelf is not recommended. High humidity is also detrimental to dried fruits and can cause moldy berries. If stored in a damp location, it is recommended to add a food-safe desiccant packet to the jar to help absorb any excess moisture. Dry elderberries are hard and leathery with no soft spots or moisture when squeezed.
Proper storage—cool, dark, airtight—keeps the fruit from degrading visibly, and syrup made from well-stored berries tastes and looks the same in month eleven as it did in month one. The deep purple color is a useful indicator of anthocyanin retention, and syrup that fades to brown or develops off-flavors has likely lost some of its active compounds.
What This System Actually Delivers
A single afternoon of foraging in late summer, two hours of processing spread across a weekend, and a small corner of freezer and pantry space will supply a household with enough elderberry for a full year. The system works because it starts with scouting in spring, continues with a realistic harvest target, relies on freezing to make de-stemming fast, and ends with storage methods that match how you actually use the fruit. The time investment is front-loaded, with most of the work happening in a concentrated period during harvest season, but the payoff is a full year of syrup, cooking ingredients, and backup stock without additional trips to the store or online orders.
This approach makes sense if you have access to clean foraging locations and two to three hours to commit in August or September. If your nearest patch is along a busy highway or you cannot process the harvest within a day, buying from a regional grower or cooperative is the smarter choice. For everyone else, ten pounds of wild elderberry is waiting in a ditch twenty minutes from your house, and now you know exactly what to do with it.


