
What this covers
- Why Start Sprouting Alfalfa (And Why You Should Too)
- The Only Equipment You Actually Need for Sprouting Alfalfa
- 7-Step Process for Perfect Alfalfa Sprouts Every Time
- The Safety Question No One Wants to Talk About
- What to Do When Your Sprouts Don't Look Right
- How to Use Alfalfa Sprouts in the Kitchen
- Why This Method Works Better Than the Alternatives
Sprouting alfalfa at home costs about eleven cents per ounce when you grow it yourself, compared to more than a dollar per ounce at the grocery store. That price gap alone would be enough to convince most people to try it, but the real reason to keep jars on the counter is simpler: fresh sprouts taste better, and the process takes less effort than driving to the store.
Most guides to sprouting alfalfa will omit key details or bury them under cautions that paint the process in an unduly negative light. The following is a straightforward, workable method for sprouting alfalfa that yields a jar full of crisp, green shoots within a week, and that treats due safety concerns with due seriousness.
Why Start Sprouting Alfalfa (And Why You Should Too)
The cost difference is real. According to one grower’s breakdown, a quart jar of sprouting alfalfa costs about seventy-seven cents to grow at home using organic seed, while store-bought sprouts run closer to three dollars and fifty cents for three ounces. A sixteen-ounce bag of organic sprouting seed fills about twenty-two jars, which means one seed purchase lasts months if you rotate batches.
But price is only part of it.
Store-bought sprouts sit in plastic clamshells for days before they reach your refrigerator, and by the time you open the package, half the batch is already turning slimy. Homegrown sprouts go from jar to salad in minutes, and the difference in texture is obvious. One sprouter on Reddit described sprouting alfalfa as the easiest, fastest, and tastiest variety to grow. If you have ever been disappointed by a musty-smelling store package, growing your own solves that problem permanently.
The Only Equipment You Actually Need for Sprouting Alfalfa
A simple quart mason jar with a piece of cheesecloth or a mesh screen held in place by a rubber band makes a fine sprouting vessel for a whole batch. You can also get sprouting lids with built-in mesh, but these are optional.
It is best if your jar is wide-mouthed because it makes rinsing easier and allows the sprouts to spread out. If your jar is narrow-mouthed, you will have to shake the seeds loose during the rinse cycle.
In addition to the jar, you will also need a bowl or dish rack to place the jar at an angle in after rinsing. Many of the guides for sprouting alfalfa suggest that the jar should be inverted or tilted to allow excess water to drain from the sprouts and for air to circulate through the mesh. Standing water is the biggest killer of sprouting batches, so this step is more important than the brand of jar you get or the type of mesh screen you get.
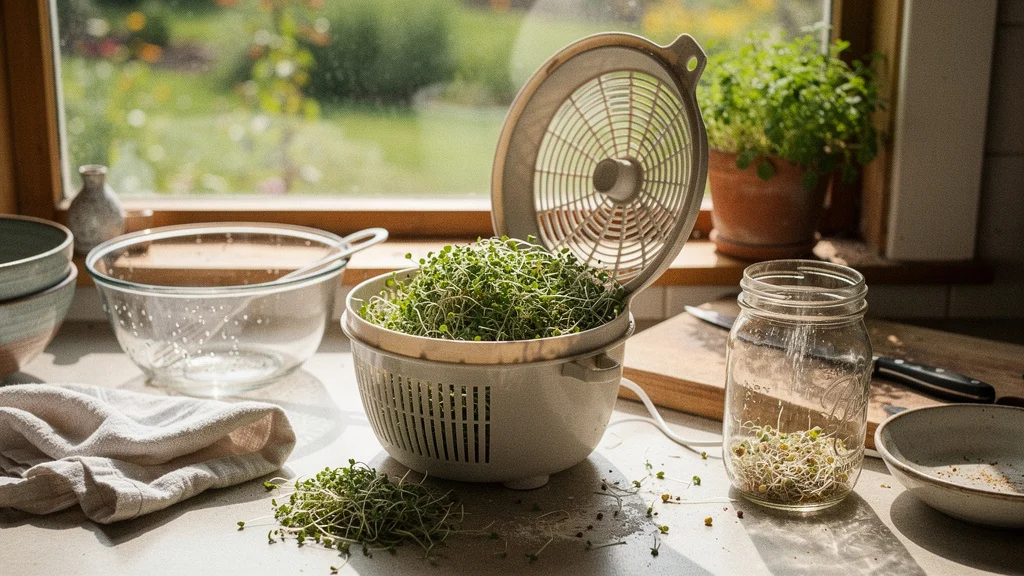
A salad spinner is optional but useful. One grower noted that drying sprouts thoroughly before refrigeration is the biggest factor in whether a batch lasts a week or spoils in three days. If you plan to sprout regularly, the spinner pays for itself in reduced waste.
7-Step Process for Perfect Alfalfa Sprouts Every Time
Step 1: Measure and Soak the Seeds
Start with two tablespoons of alfalfa seed in a quart jar. That amount expands to roughly two hundred grams of finished sprouts, which fills the jar and yields enough for sandwiches, salads, and grain bowls for several days. Some sprouters use twenty grams by weight, which is close to the same volume.
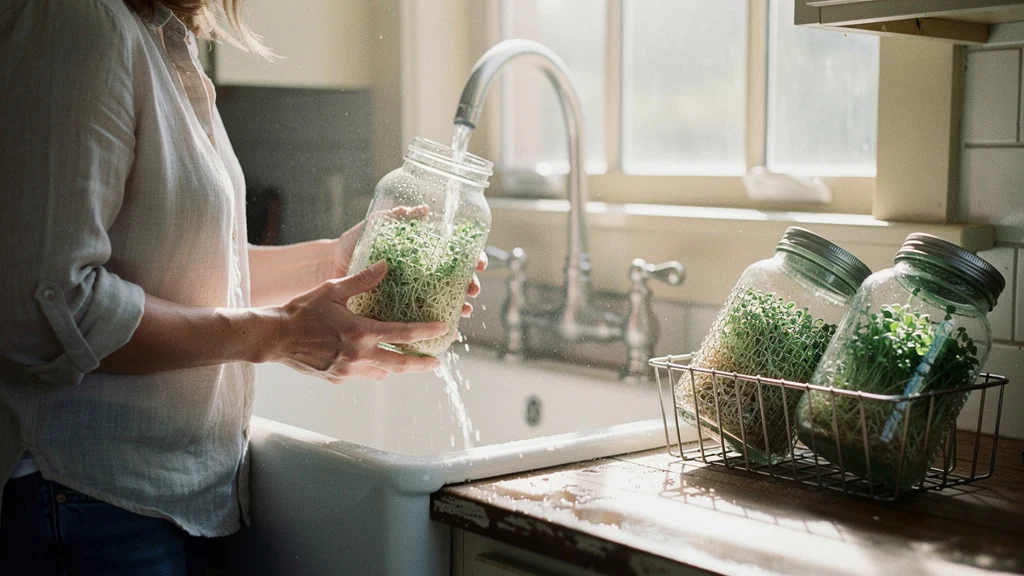
Add a quarter to a half cup of cool water, cover the jar with mesh or cheesecloth, and let the seeds soak for six to eight hours or overnight. One guide suggests adding a pinch of sea salt to the soak water to encourage germination and reduce enzyme inhibitors, though this step is optional. Using filtered water for every rinse and soak is recommended, because chlorinated tap water can interfere with sprouting alfalfa the same way it slows fermentation cultures.
Step 2: Drain Completely
After the seeds have soaked for the required time, pour out the water and gently shake the jar to spread the seeds over the bottom and up the sides of the jar. They should look plump and slightly swollen. After draining the jar thoroughly, stand it up in the jar at an angle over a bowl or in a dish rack. This will allow any remaining water to drain off and air to reach the seeds.
This drainage position is not negotiable. Seeds sitting in a puddle will turn musty within a day.
Step 3: Rinse and Drain Two to Three Times Daily
For the next four to six days, rinse the seeds with cool water two or three times a day, then drain and return the jar to its angled position. Each rinse takes less than a minute: fill the jar with water through the mesh, swirl it gently, pour out the water, and shake the jar to redistribute the seeds.
The key to consistency is more important than exact timing. So long as you rinse your sprouting alfalfa in the morning, at midday and in the evening, it will develop evenly. Even missing one rinse and having to wait twelve hours between them and your alfalfa will probably still do okay but will have a greater chance of developing off smells and growing more slowly.
Step 4: Watch for Sprout Tails
Two to three days after you have placed the seeds in the jar, you should start to see the first signs of life in the form of a small white tail growing out of the seed. The seedlings should be placed in a spot with indirect light. The jar should be kept out of direct sunlight as this can cause the sprouts to overheat and grow unevenly. As stated in a sprouting guide, “keep jar out of direct sunlight”.
Sprouting alfalfa can be started in a dark cabinet and then moved to a windowsill when it is an inch or so tall to let it complete sprouting in the daylight. It can also be left on the counter in ambient kitchen light and sprout fine.
Step 5: Grow Until the Sprouts Reach Three Inches
The sprouts are ready when they reach about three inches in length with green tips and white roots. This usually takes four to six days total, depending on room temperature and how often you rinse. Warmer kitchens speed up the process; cooler rooms slow it down.
The sprouts will fill the jar and become a dense, knotty mass. They should have a fresh, grassy smell and not smell sour or musty.
Step 6: Rinse and Remove Hulls
When sprouting alfalfa is complete, transfer the sprouts to a large bowl of cold water. Swish them around gently to loosen the seed hulls, which will float to the surface. Skim off the hulls and drain the sprouts in a colander. You do not need to remove every hull, but getting most of them out improves the texture and shelf life.
Step 7: Dry and Store
Spread the sprouts on a clean kitchen towel or spin them in a salad spinner until they are as dry as possible. Transfer them to a covered container and refrigerate. Properly dried sprouts keep for about a week; wet sprouts spoil in three days or less.
The Safety Question No One Wants to Talk About
Sprouting alfalfa at home carries a real contamination risk, and pretending otherwise does not help anyone.The majority were caused by Salmonella (40 outbreaks) and E. coli (10 outbreaks).As of August 2026, there is an active multistate outbreak of E. coli and Salmonella linked to alfalfa sprouts from Everything Sprouts, LLC and at least one additional grower using the same contaminated seed lot.
Even after rinsing, seeds can be infected internally by pathogens that multiply greatly during the sprouting process. Therefore, even rinsing cannot guarantee safety.
It is worth highlighting this risk as it affects how one goes about sprouting at home. People in higher risk groups would be better off to cook their sprouts and consume another fresh vegetable. Those who are sprouting for healthy adult household members will have a lower but not zero risk of illness. Cleaning, rinsing thoroughly and making sure proper drainage can minimize the risk of illness, but.
It’s somewhat of a debate among growers whether or not to sterilize seeds with food-grade hydrogen peroxide before sprouting. Some sprouters report never to have ‘bleached’ or ‘sterilized’ seeds and seem to manage well by frequently rinsing seeds and keeping a close eye for any signs of mold. Others take a more cautious approach and treat their seeds as if they were potentially contaminated. There is much debate as to the effectiveness of home methods of seed sterilization and to date, there is no community consensus on the matter.
Until there is further information on this point, the best course of action seems to be to buy seeds from a reputable supplier that tests for pathogens and then to thoroughly rinse all seeds before placing them in jars and to closely monitor each batch for any off smells or colors.
What to Do When Your Sprouts Don’t Look Right
Off smell? Musty smell? Toss them. No amount of rinsing will remove the bad smell of sprouts that are spoiling. It’s not worth the risk of getting sick from bad sprouts.
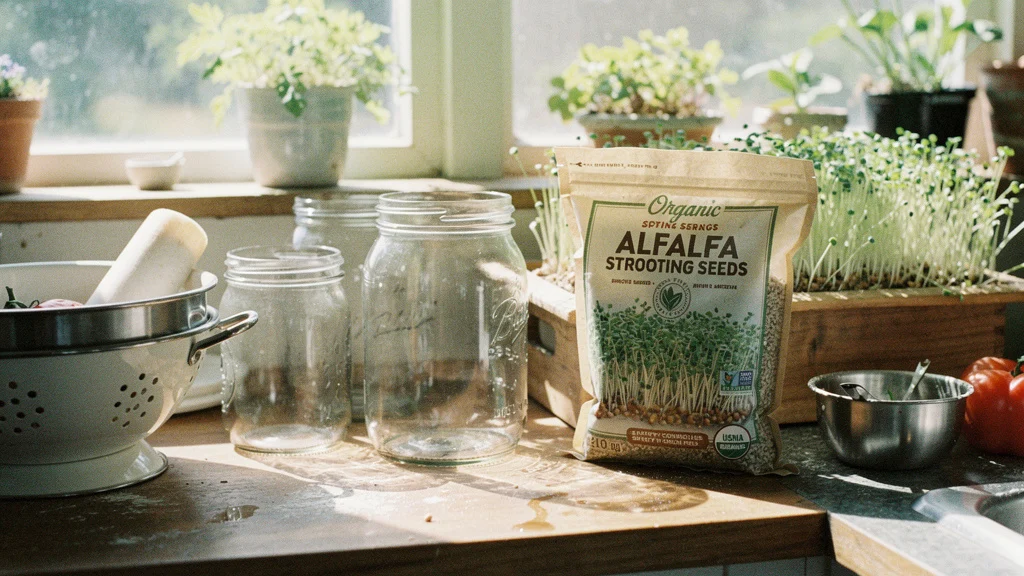
Seeds that do not germinate at all within three days could be old, or may not have been rinsed sufficiently. Northern variety alfalfa seed has a strong dormancy that can be broken by manual shocking prior to sale by most sprouting seed companies. Seeds purchased from a bulk bin store or other seed supplier not specializing in sprouting alfalfa may have dormant seeds. Buy fresh seed from a dedicated sprouting seed supplier and try again.
Seed stuck at the bottom of the jar does not germinate as well as seed spread out on the sides of the jar. Be sure to give the jar a good shake after each rinse to make sure all seed are distributed evenly. Also check for proper drainage.
How to Use Alfalfa Sprouts in the Kitchen
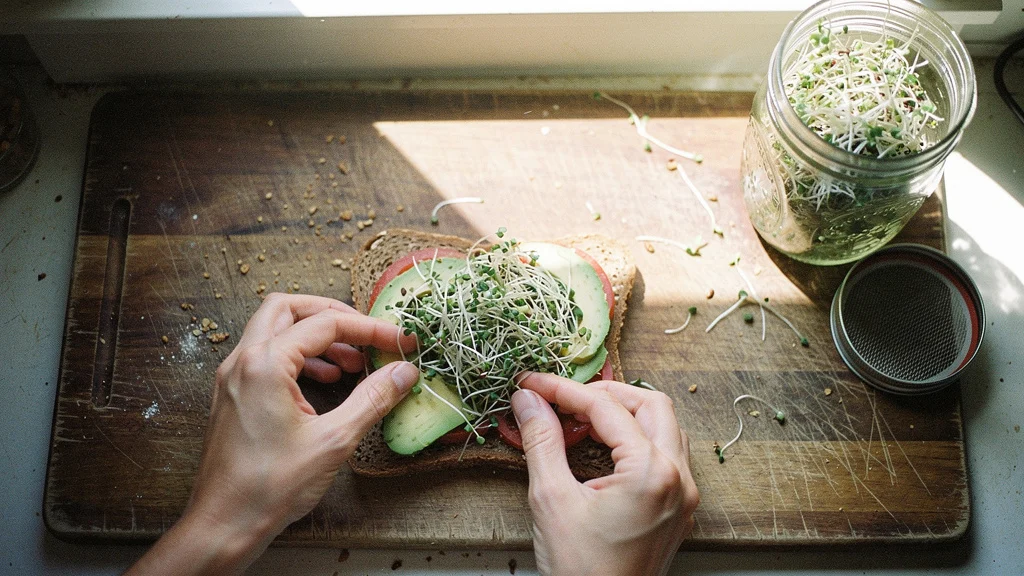
Fresh alfalfa sprouts can be used in sandwiches, wraps, grain bowls and salads. The crunch of alfalfa sprouts and mild grass-like flavor make them a versatile addition to many dishes. Use them as a topping for soups and stir-fries, adding them before serving to maintain their crunch. Sprouts can also be used as a substitute for lettuce on avocado toast and as a filling in spring rolls.
Sprouts also can be used in smoothies. Yes, they have a texture but they blend up quite well in a smoothie. A handful of them in a green smoothie doesn’t affect the taste too much. In fact, by weight they are more nutrient dense than most of the leafy greens.
One jar typically lasts for about four days for average users. Therefore, to maintain a constant supply of freshly made Pickl-It, we recommend that two jars be prepared to alternate every two to three days to make sure that there is always a freshly made batch ready to go.
Why This Method Works Better Than the Alternatives
Sprouting alfalfa in a jar is faster, cheaper, and more reliable than other methods. Sprouting trays and automated sprouters exist, but they cost more, take up more space, and do not produce noticeably better results. A jar and a piece of mesh cost less than five dollars total, and they work as well as a fifty-dollar sprouting kit.
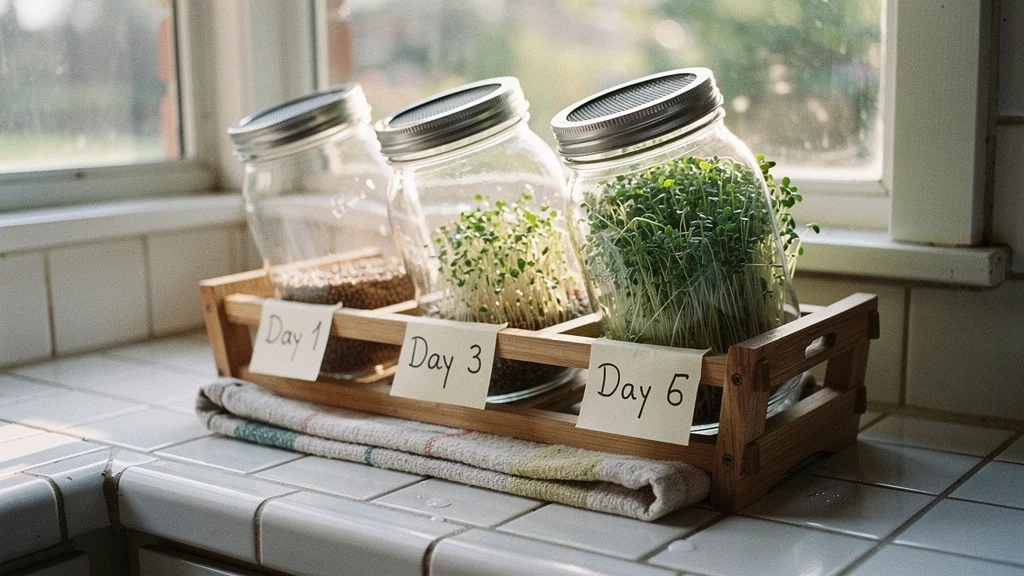
Drainage and air circulation are more important than any equipment. As long as all the water has time to drain off after rinsing and there is air circulating within the jar, sprouts will grow. All else is optional.
If you eat sprouts regularly, the cost savings alone justify the effort. At eleven cents per ounce compared to more than a dollar per ounce for store-bought, a single jar pays for the seed and supplies. After that, every batch is nearly free, and sprouting alfalfa delivers fresher results than anything you can buy. For a household that already ferments and preserves food, adding a jar of sprouts to the counter is a small step with a noticeable return.

That was a brilliant guide. I have struggled with mouldy seeds before, but your steps have made it all feel rather straightforward. Thank you so much.