
What this covers
- Step One: Choose the Right Pea Shoots Seeds (And Skip the Expensive Ones)
- Step Two: Soak or Skip It
- Step Three: Plant Dense and Shallow
- Step Four: Cover Them and Leave Them Alone
- Step Five: Water Without Drowning
- Step Six: Harvest at the Right Height
- Step Seven: Use Them Fresh (Or Store Them Carefully)
- What Actually Goes Wrong (And How to Fix It)
- Why This Method Works
Pea shoots are among the easiest and fastest greens to grow indoors. Eight to fourteen days from seed to harvest, according to multiple growing guides. No garden required. No expensive setup. A shallow container, some dried peas, and enough patience to leave them alone for the first few days while they germinate in the dark.
The appeal is not just speed. Multiple sources report pea shoots deliver about seven times more vitamin C than blueberries, along with vitamins A, E, and K, beta-carotene, lutein, and protein. A 2014 peer-reviewed study in Food Chemistry found pea shoots showed a high content of vitamins C, E, and A compared to other ready-to-eat leafy greens. They taste sweet, crisp, and faintly like fresh peas, which makes them useful in everything from salads to stir-fries. And unlike lettuce or spinach that wilt in the crisper, these you cut minutes before you eat them.
For anyone who ferments or sprouts at home, growing your own greens offers transparency and control over inputs that the grocery store cannot match.
Step One: Choose the Right Pea Shoots Seeds (And Skip the Expensive Ones)
Use regular dried peas.
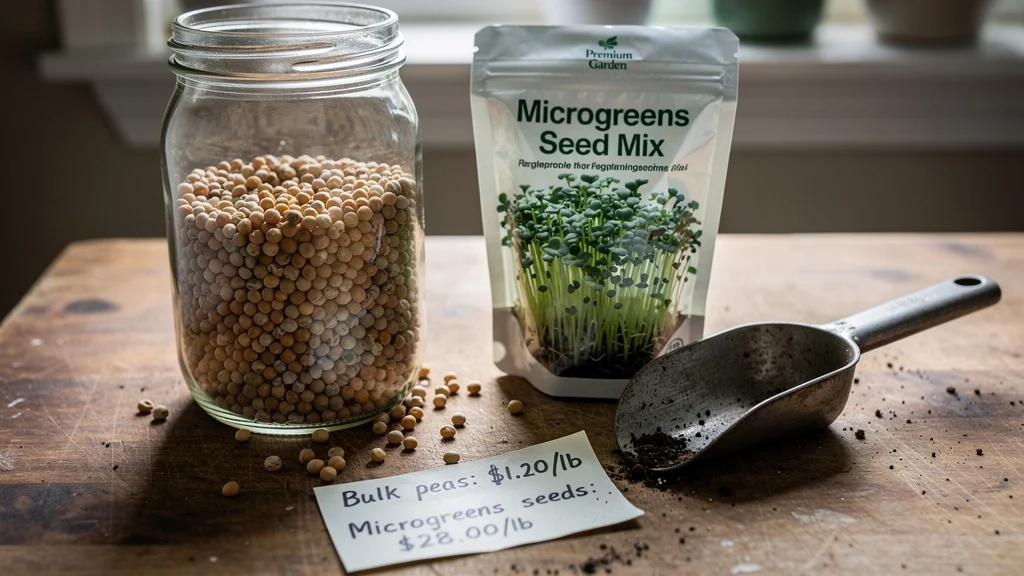
Forget about snow peas, and sugar snaps, too. And don’t be fooled by seed packages marketed as “microgreen seeds” at your garden center. The humble yellow or green pea — sold in bulk in the bulk foods section or as dried beans in the regular grocery store’s dried beans aisle — costs a fraction of these specialty varieties and does as well. Most seed marketed as “for sprouting” or “microgreens” has an unjustified high markup and doesn’t perform any better than plain old pea seeds. They germinate as reliably whether you buy “organic sprouting peas” or “split peas, $2/lb.”
We look for whole peas as opposed to split ones, as the latter will not sprout. Variety of peas is less important than freshness. Older seeds will take longer to germinate and produce weaker shoots. But, many types of grocery store peas will still work even when a year or so past their best-by date, as long as stored in a cool dry place.
Step Two: To Soak or Not
An eight to twelve hour soak before planting can speed germination. It’s also optional—watering the soil thoroughly right before you sow the seeds achieves similar results without the extra step or the risk of forgetting the seeds overnight.
Soak only if you need shoots ready as fast as possible, or if you’re planting multiple trays and want them all to germinate at the same time. For a single tray planted over the course of two weeks, skip it.
Whichever you choose, use filtered or dechlorinated water. According to the University of Illinois Extension’s guide to seed starting, chlorine in tap water can interfere with germination rates. Leaving tap water out overnight allows most chlorine to evaporate, though a simple carbon filter is faster and more reliable.
Step Three: Plant Dense and Shallow
Shallow beats deep. One to two inches of moistened potting soil is enough.
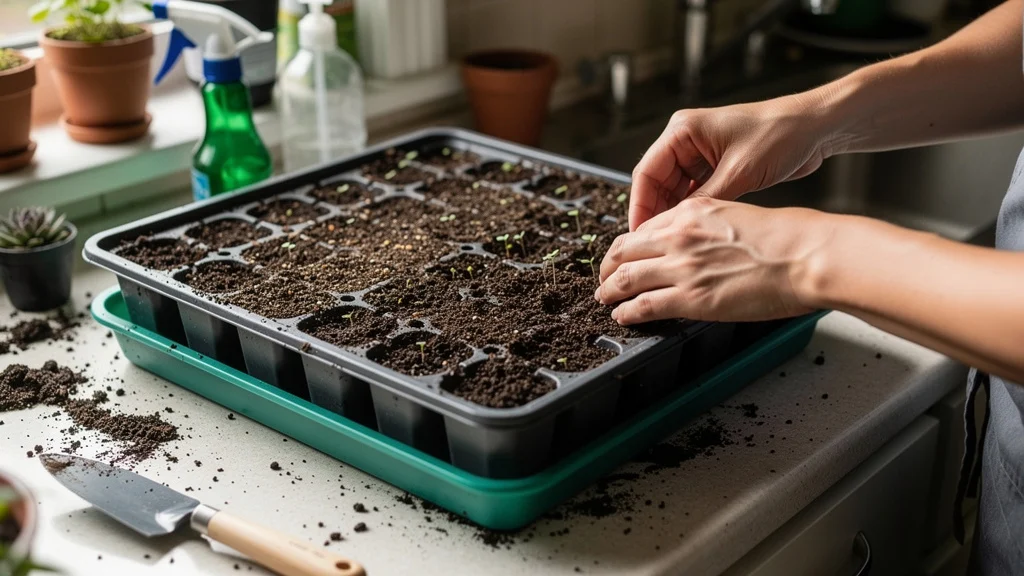
Shallow containers save soil, dry out more predictably, and make harvesting easier when you cut the shoots an inch above the surface. A takeout container, a plastic clamshell from the salad aisle, or a repurposed nursery flat all work as long as you drill drainage holes in the corners to prevent standing water and root rot.
Nested trays work well here. Place the drilled container inside a second container to catch runoff. Water can be poured into the top tray, allowed to drain into the lower tray, and dumped a few minutes later. Sara Bäckmo’s guide describes this setup as a low-cost alternative to commercial microgreen trays.
Seed density is debated. Some growers insist seeds must not overlap, fearing mold. Others report success with a single, dense layer where seeds touch but don’t pile up. The denser the planting, the higher the yield—but also the higher the mold risk if the tray stays too wet or the room is too warm. Plant densely and only reduce seed density if problems develop.
Step Four: Cover Them and Leave Them Alone
The first few days require darkness.
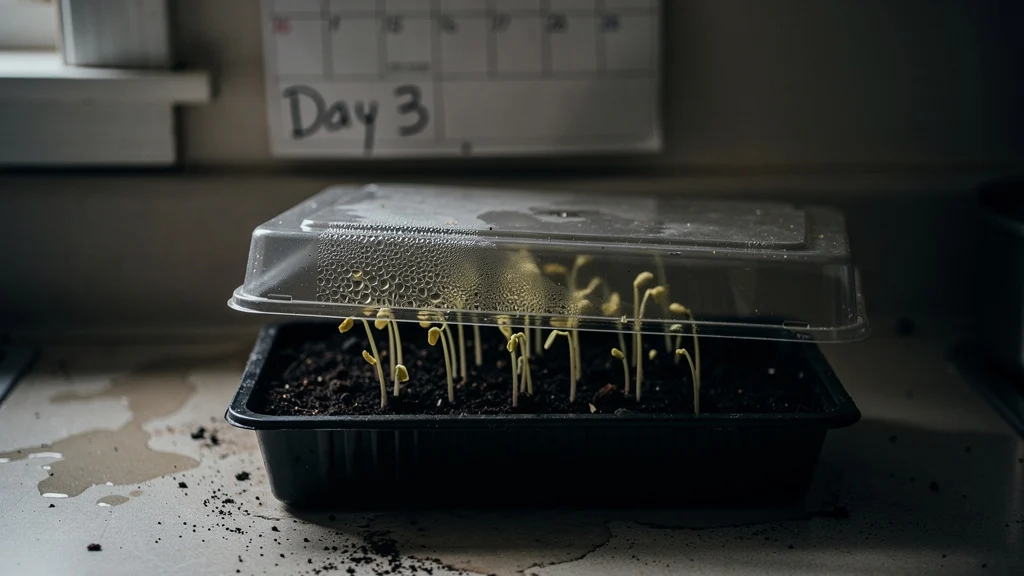
Cover the tray with a lid or an inverted second tray, left slightly ajar to maintain moisture and warmth without cutting off all airflow. Some growers add weight on top to encourage stronger stems. Either way, the seeds need to stay moist, warm, and dark for three to five days while roots anchor and pale shoots push through the soil.
Once the shoots emerge, remove the cover or increase the gap to allow air circulation. At this stage, the shoots are still yellow or pale green, and they need light to finish the transition to the deep green color that signals full nutrient development.
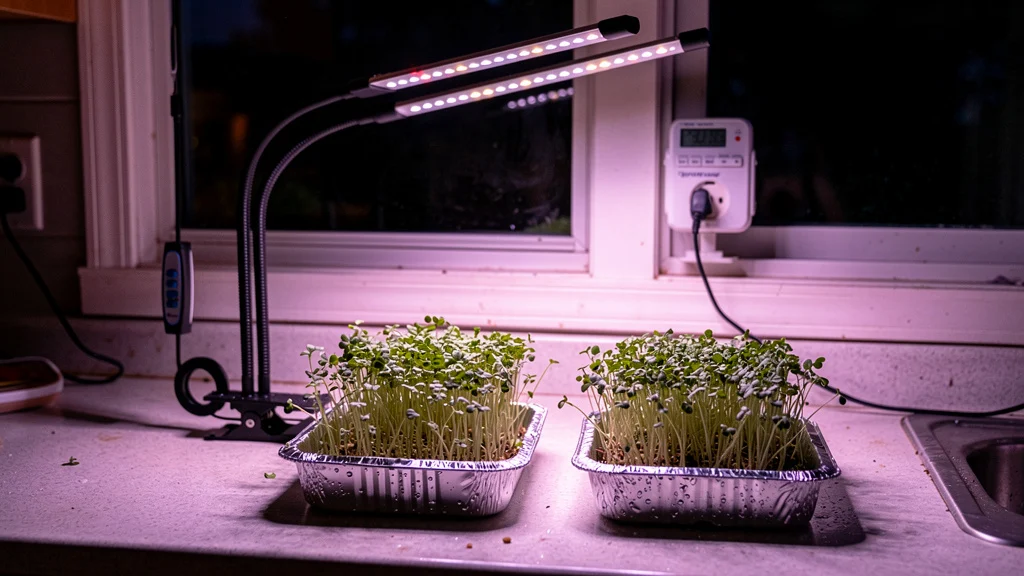
Indirect light from a windowsill works. So does a grow light set to twelve hours a day. Direct sun is too intense and will scorch the tender leaves before they toughen up.
Step Five: Water Without Drowning
Consistent moisture matters, but a swamp will kill them. The soil should be damp to the touch but not soggy. You should be able to push your finger into the soil but the water should not pool on top or collect in the bottom of the tray for more than a few minutes.
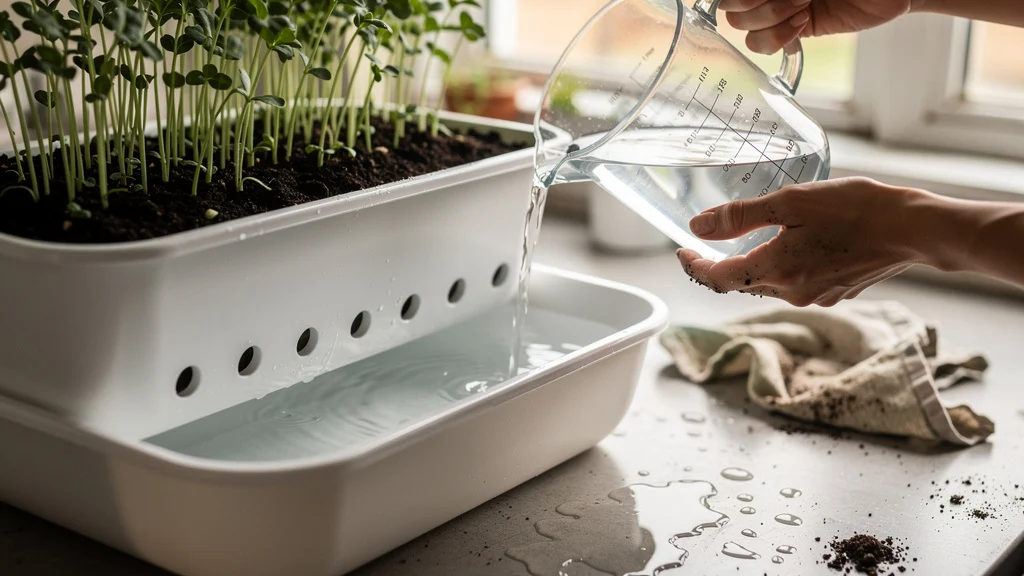
Watering from the bottom by pouring water into the catch tray and letting the soil wick it up through the drainage holes, then dumping any water that remains after ten minutes, keeps the surface drier and reduces the chance of mold spreading across the top layer where the seeds sit. Some growers prefer misting the surface or watering gently from above; both work as long as you are careful not to dislodge the seeds before they root.
Check the tray every day. In warm, dry rooms you may need to water every day, in cooler, more humid rooms every other day. The shoots will wilt a bit and lose their upright crispness if they are thirsty. But they will come back to full health in a matter of hours if you water them in time.
Step Six: Harvest at the Right Height
Three to five inches tall is the sweet spot. At this height, the leaves are fully green, the stems are tender, and the flavor is sweet without any bitterness. Wait much longer, and the shoots become wiry and tough—still edible, but noticeably less pleasant to chew.
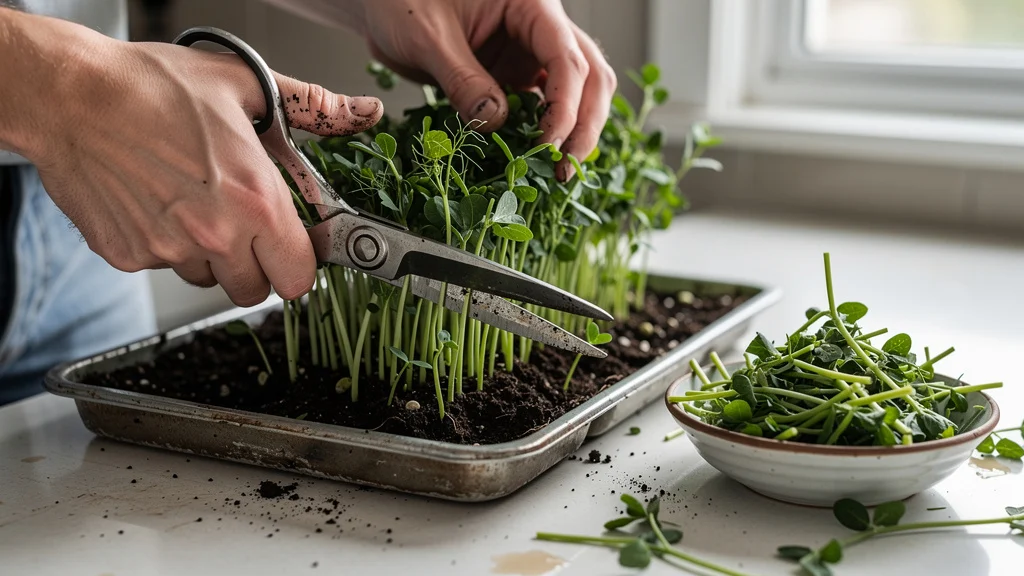
Use scissors. Cut about an inch above the soil surface, leaving the roots and the lowest set of leaves intact.
Pea shoots regrow after the first cutting, according to multiple sources. A second flush of smaller shoots appears within seven to ten days, though it’s less uniform and less abundant. Most growers find it faster to compost the roots and start a fresh tray, especially when seeds are cheap and soil can be reused after a quick turn in the compost bin.
Step Seven: Use Them Fresh (Or Store Them Carefully)
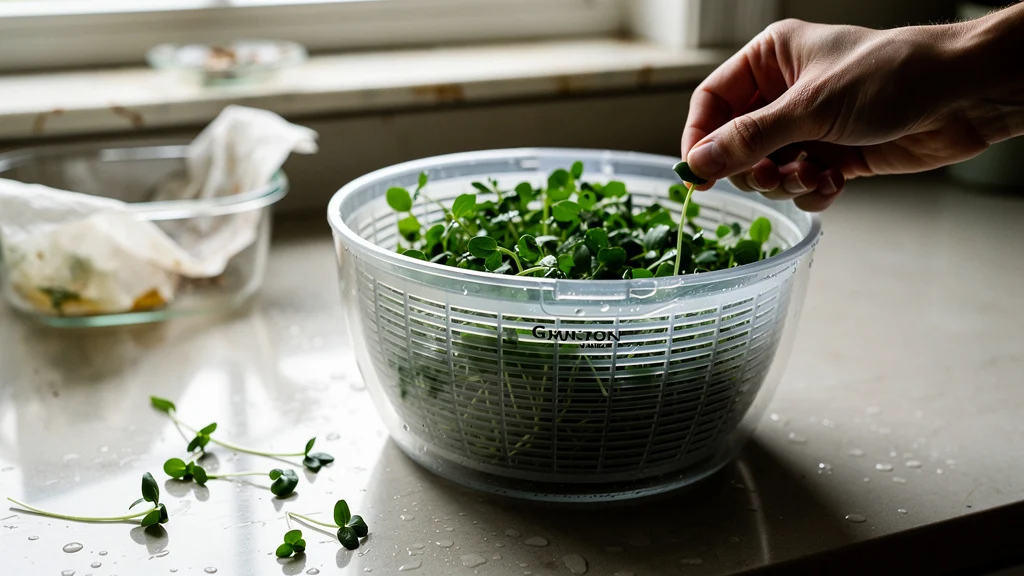
Pea shoots are best the day you cut them. The flavor is brightest, the texture is crispest, and you do not lose any of the vitamin C that starts breaking down the moment the stems are severed. One source states they store unwashed in a sealed container in the fridge for up to five to six days if you treat them like fresh herbs: rinse gently, spin or pat dry, and store loosely in a container lined with a damp paper towel.
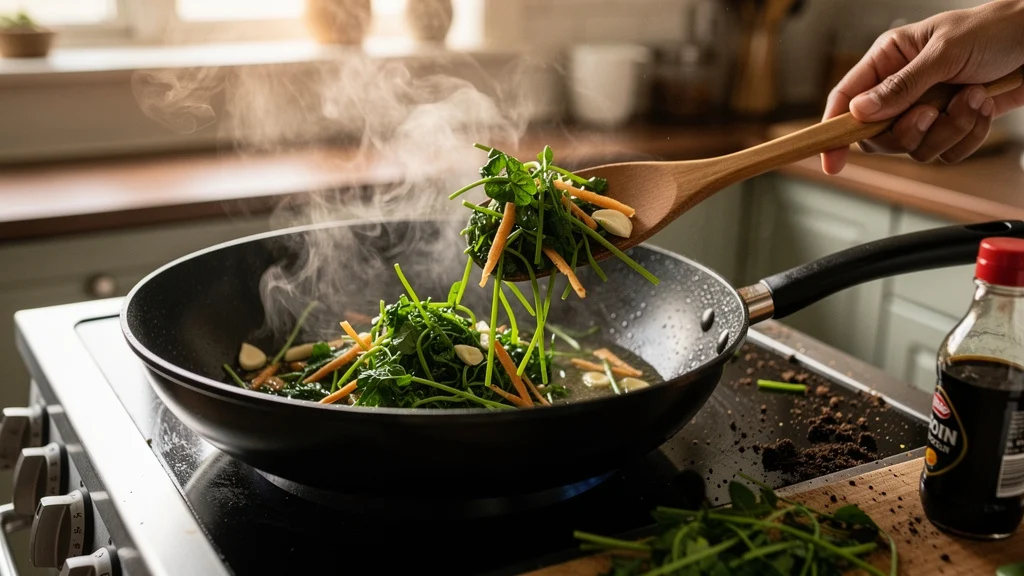
Home growers on Reddit’s r/microgreens community report stir-frying pea shoots with garlic, soy sauce, and ginger, using them raw in salads, tossing them into hot soups at the last minute, or adding them to omelets. The mild flavor works best in dishes where it won’t get lost—as a topping for rice bowls, scattered over roasted vegetables near the end of cooking, or as a simple side dish on its own.
They’re very sensitive to heat. Add them at the end of cooking or use them raw like you would use spinach rather than kale.
What Actually Goes Wrong (And How to Fix It)
Mold is the most common problem, and it usually starts in the first few days when the seeds are germinating and the soil is wettest. Increase ventilation by removing the cover earlier or propping it open wider. Water less frequently. One source notes warmer rooms above seventy-five degrees Fahrenheit can increase mold risk, so moving the tray to a cooler spot may help.
Slow germination is almost always a seed freshness issue or a temperature problem. One source states warmer rooms between sixty-eight and seventy-five degrees Fahrenheit and more light speed the process. Another notes cooler rooms slow things down by a day or two. Old seeds or seeds stored in a hot, humid place may not sprout at all, and no amount of soaking or careful watering will fix that. Buy fresh seeds, store them in a cool, dry place, and the problem usually disappears.
If the shoots from the seeds are weak and flop over rather than standing up straight this means that the tray is not getting enough light after they have germinated. Move the tray closer to the window or add a grow light. Low light is tolerated by pea shoots more than most other greens but still require several hours of indirect light a day to produce strong stems and good color.
Why This Method Works
Pea shoots fit into the rhythm of a kitchen that already ferments, sprouts, and preserves food on a rotating schedule. The timeline is short enough that you can start a new tray every week and never run out, but long enough that you are not babysitting seedlings every day. The setup is simple, the inputs are cheap, and the yield is predictable once you learn how your specific room behaves—how fast the soil dries, how much light the windowsill gets, how warm the counter stays in winter.
If you have no greenhouse or grow tent and want fresh greens in January, pea shoots are one of the most tolerant options for beginners. They’re more forgiving than lettuce, grow faster than herbs, and taste better than anything you can buy in plastic clamshells at the store. Start a tray this week. You’ll be cutting your first batch before the month is out.

Thanks for these tips on pea shoots. I have been struggling to get mine right, so this guide is a godsend. Could you add a bit on lighting levels?